
Automate Database Backups with SimpleBackups
 Yulei Chen
If your backup process depends on someone remembering to run pg_dump, sooner or later a backup will be missed. SimpleBackups connects directly to PostgreSQL, runs backups on a schedule, and sends the files to Sliplane Object Storage or another supported provider.
This guide uses Sliplane Managed PostgreSQL. The same setup also works with other PostgreSQL databases that accept external connections.
This video shows the whole setup, including the first backup run. Watch it for a quick overview or follow along with the steps below.
Before you start
For this walkthrough, you need:
Copy the database Connection URI from the Sliplane dashboard as well. You will paste it into SimpleBackups later.
1. Create a Sliplane Object Storage bucket
Open Object Storage in the Sliplane dashboard and create a bucket. If the backup files need to stay in Europe, choose the German region.
Create an access key for the bucket, then keep these four values ready:
- bucket name
- access key
- secret key
- region
The access key only works with this bucket. SimpleBackups will not have access to your other buckets.
2. Connect SimpleBackups to PostgreSQL
Open Create Backup in SimpleBackups and configure the source:
- Select Serverless.
- Set Type to PostgreSQL.
- Select Connection String.
- Copy the Connection URI from your database in the Sliplane dashboard and paste it into SimpleBackups.
3. Allow the SimpleBackups IP addresses
Skip this step if the database's Access Control rules already allow all IPv4 and IPv6 addresses through 0.0.0.0/0 and ::/0.
If access is restricted, add the SimpleBackups CIDRs to the database's Access Control rules in Sliplane. SimpleBackups currently lists these addresses:
34.227.212.80/32
45.55.63.67/32
3.83.70.104/32
95.216.176.7/32
95.216.142.29/32
95.217.244.243/32
3.66.2.188/32
65.108.217.1/32
2a01:4f9:c011:7bad::1/128
2a01:4f9:c011:4e61::1/128
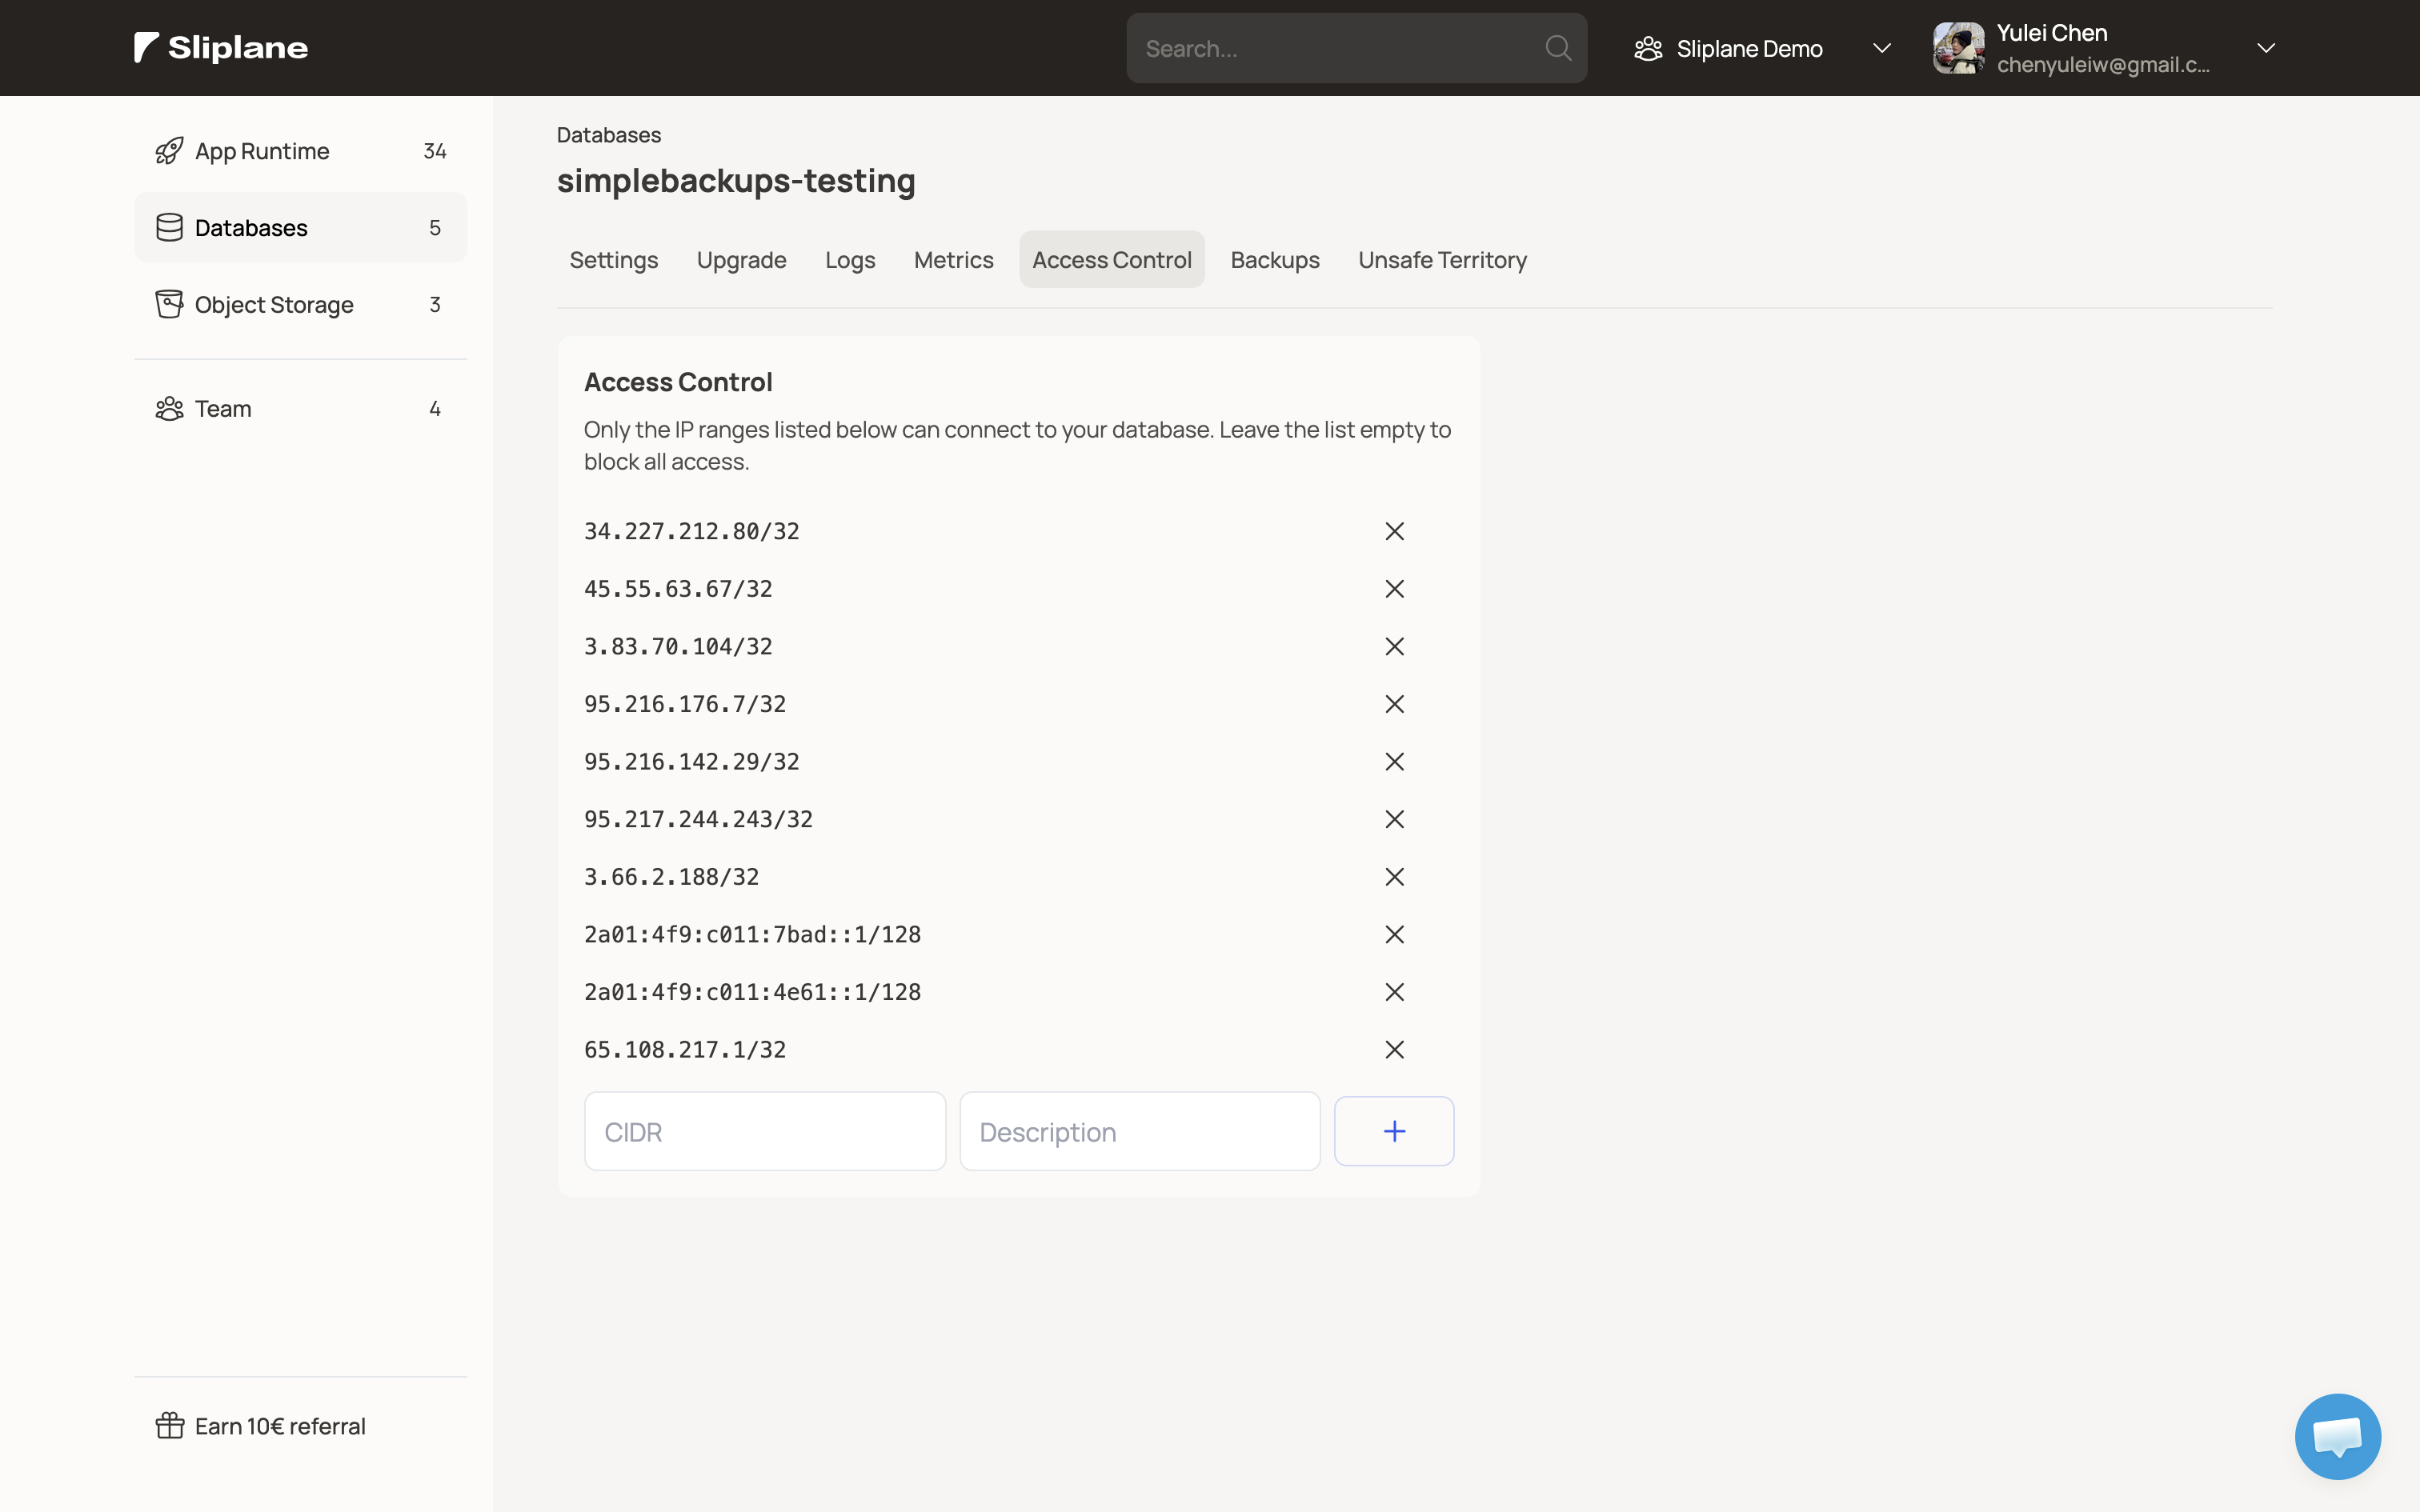
Add every SimpleBackups CIDR to the database's Access Control rules.
IP addresses can change, so compare them with the SimpleBackups firewall documentation before adding the rules.
Return to SimpleBackups, click Validate, and wait for the Configuration validated message. If validation fails, check the Connection URI and confirm that every required IP address is allowed.
4. Connect Sliplane Object Storage
Under Where do you want to store your backups?, click Connect new storage and select Sliplane Object Storage.
Enter the bucket name, access key, secret key, and region from the bucket you created earlier. SimpleBackups checks the credentials before saving the destination. The SimpleBackups Sliplane storage guide explains each field.
5. Choose a schedule and run the first backup
Change the backup name if the default is not descriptive enough. Under When do you want to run your backup?, choose how often it should run, then click Create and Run.
SimpleBackups immediately runs the first backup and writes it to the selected Sliplane bucket. Future runs follow the schedule you configured, and you can monitor their status from the SimpleBackups dashboard.
Built-in and independent backups
Sliplane Managed PostgreSQL already includes Point-in-Time Recovery for operational restores. SimpleBackups gives you something different: a portable logical backup file in a destination you control.
If you also want a copy outside Sliplane, add another destination or replicate the bucket to a different storage provider. An account or provider incident then cannot affect every copy.
Once the setup is done, the backups run without manual commands. Keep an eye on failed jobs, rotate the credentials when needed, and test your restores regularly.