
Self-hosting Kimai with Docker on an Ubuntu server
 Jonas Scholz
Tired of using SaaS for time tracking or handing your work data over to third parties? Kimai is a modern, open source time tracking tool built for teams and freelancers. It runs in your browser and supports multi-user access, projects, invoices, and more. In this guide, you'll learn how to self-host Kimai on an Ubuntu server using Docker, Caddy for HTTPS, and a MySQL database.
What is Kimai?
Kimai is a powerful, open-source time tracking solution that helps teams and freelancers manage their work hours efficiently. With its intuitive interface and robust feature set, Kimai has become a popular choice for businesses looking to maintain control over their time tracking data. Here's what makes Kimai stand out:
- Open Source: Kimai is completely free and open-source, giving you full control over your data and customization options
- Multi-user Support: Perfect for teams of any size, with role-based access control
- Project Management: Organize time entries by projects, customers, and activities
- Invoicing: Generate professional invoices based on tracked time
- Reporting: Create detailed reports and export data in various formats
- API Access: Integrate with other tools through a stable API
- Mobile Friendly: Access your time tracking from any device with a modern browser
- Plugin System: Extend functionality with community-developed plugins
From freelancers tracking billable hours to team managers monitoring project progress and business owners overseeing multiple projects, Kimai offers great time tracking without the recurring costs of commercial solutions. Its self-hosted nature means you maintain compflete control over your data while avoiding monthly subscription fees.
0. Your Server
We'll use a Hetzner Cloud VPS as the base. It's affordable, fast, and easy to automate. Choose the following specs:
- OS: Ubuntu 24.04
- CPU: 2 vCPU
- RAM: 4 GB
- Storage: 40 GB SSD or more
- Network: IPv4 + IPv6
- Backups: Enable auto-backups
These specifications are chosen for a reason:
- 2 vCPUs provide enough processing power for Kimai and its database
- 4GB RAM ensures smooth operation even with multiple users
- 40GB SSD gives plenty of space for the application, database, and logs
- IPv4 + IPv6 ensures maximum compatibility
- Auto-backups protect your data from hardware failures
This should be enough for a basic setup. You can always scale up later if needed!
Create your server through the Hetzner Cloud console. If you don't have an account, use my referral link to get €20 in credit.
Make sure to add your SSH key during creation so you can log in securely from your machine.
Configure the Firewall
Security is crucial for any server exposed to the internet. Hetzner provides a built-in firewall that we'll configure to only allow essential traffic:
- Go to your Hetzner Cloud Console
- Navigate to "Security" → "Firewalls"
- Create a new firewall with these rules:
- Allow SSH (port 22) from your IP
- Allow HTTP (port 80) from anywhere
- Allow HTTPS (port 443) from anywhere
- Block all other incoming traffic
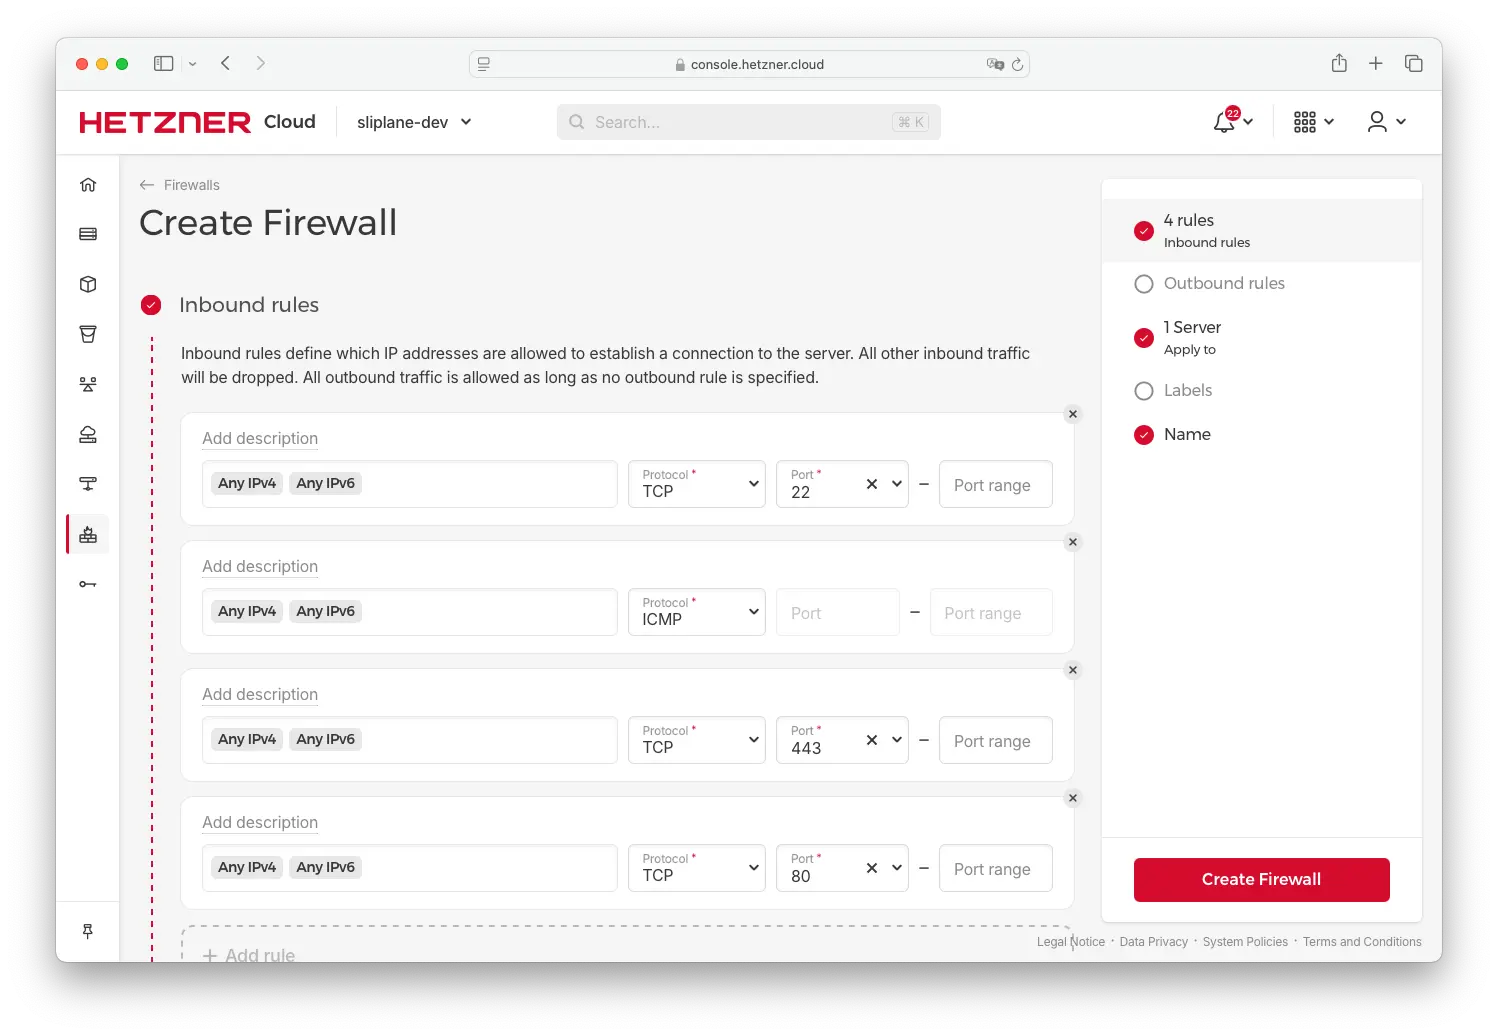
This configuration ensures that only necessary ports are accessible while keeping your server secure from unwanted traffic.
1. Basic Setup
SSH into the server:
ssh root@your-server-ip
Update the system:
sudo apt-get update
sudo apt-get upgrade -y
This ensures you have the latest security patches. Regular updates are crucial for server security as they patch known vulnerabilities and improve system stability.
2. Install Docker and Docker Compose
Docker allows us to run Kimai in an isolated container, making it easier to manage and update. Docker Compose helps us orchestrate multiple containers (Kimai and MySQL) together.
Install dependencies:
sudo apt-get install ca-certificates curl gnupg
Add Docker's GPG key:
sudo install -m 0755 -d /etc/apt/keyrings
curl -fsSL https://download.docker.com/linux/ubuntu/gpg \
| sudo gpg --dearmor -o /etc/apt/keyrings/docker.gpg
sudo chmod a+r /etc/apt/keyrings/docker.gpg
Add the Docker repository:
echo \
  "deb [arch=$(dpkg --print-architecture) signed-by=/etc/apt/keyrings/docker.gpg] \
  https://download.docker.com/linux/ubuntu $(. /etc/os-release && echo $VERSION_CODENAME) stable" \
  | sudo tee /etc/apt/sources.list.d/docker.list > /dev/null
Install Docker and Compose plugin:
sudo apt-get update
sudo apt-get install docker-ce docker-ce-cli \
containerd.io docker-buildx-plugin docker-compose-plugin -y
Test your Docker setup:
sudo docker run hello-world
If that prints a success message, you're good to go.
3. Install Caddy for HTTPS
A reverse proxy like Caddy serves several important purposes:
- It handles SSL/TLS certificates automatically
- It provides an additional security layer between the internet and your application
- It can handle multiple applications on the same server
- It manages HTTP to HTTPS redirection
Instead of fiddling with Certbot and Nginx, we'll use Caddy. It automatically gets TLS certificates and renews them.
Install Caddy:
sudo apt install -y debian-keyring debian-archive-keyring apt-transport-https curl

curl -1sLf 'https://dl.cloudsmith.io/public/caddy/stable/gpg.key' \
| sudo gpg --dearmor -o /usr/share/keyrings/caddy-stable-archive-keyring.gpg

curl -1sLf 'https://dl.cloudsmith.io/public/caddy/stable/debian.deb.txt' \
| sudo tee /etc/apt/sources.list.d/caddy-stable.list

sudo apt update
sudo apt install caddy -y
Caddy will run as a service automatically.
Edit the config:
sudo nano /etc/caddy/Caddyfile
Set up a reverse proxy:
yourdomain.com {
    reverse_proxy localhost:8001
}
Replace yourdomain.com with your actual domain. Make sure you've pointed your domain's A/AAAA records to your server IP before continuing.
Restart Caddy to apply:
sudo systemctl restart caddy
Now any traffic to https://yourdomain.com will be routed to the Kimai container.
4. Docker Compose Setup
Docker Compose helps us manage multiple containers that work together. In our case, we need:
- A MySQL database for storing Kimai's data
- The Kimai application itself
Create a directory:
mkdir -p ~/kimai && cd ~/kimai
nano docker-compose.yml
Paste the following:
services:
  mysql:
    image: mysql:8.3
    volumes:
      - mysql:/var/lib/mysql
    environment:
      - MYSQL_DATABASE=kimai
      - MYSQL_USER=kimaiuser
      - MYSQL_PASSWORD=useaverylongandsecurepassword
      - MYSQL_ROOT_PASSWORD=useaverylongandsecurepassword
    restart: unless-stopped
    healthcheck:
      test: mysqladmin -p$$MYSQL_ROOT_PASSWORD ping -h localhost
      interval: 20s
      start_period: 10s
      timeout: 10s
      retries: 3

  kimai:
    image: kimai/kimai2:apache
    volumes:
      - data:/opt/kimai/var/data
      - plugins:/opt/kimai/var/plugins
    ports:
      - 8001:8001
    environment:
      - ADMINMAIL=admin@kimai.local
      - ADMINPASS=changemeplease
      - DATABASE_URL=mysql://kimaiuser:useaverylongandsecurepassword@mysql/kimai?charset=utf8mb4&serverVersion=8.3.0
    restart: unless-stopped

volumes:
  data:
  mysql:
  plugins:
The configuration includes:
- Persistent volumes for data storage
- Health checks for the database
- Automatic container restart
- Environment variables for configuration
Start the containers:
sudo docker compose up -d
Verify everything is running:
docker ps
You should see two containers: one for Kimai and one for MySQL.
$ docker ps
CONTAINER ID   IMAGE                 COMMAND                  CREATED              STATUS                             PORTS                              NAMES
ba933d132ed6   mysql:8.3             "docker-entrypoint.s…"   14 seconds ago       Up 13 seconds (health: starting)   3306/tcp, 33060/tcp                kimai-mysql-1
df1dbb0e58e4   kimai/kimai2:apache   "docker-php-entrypoi…"   About a minute ago   Up 13 seconds (health: starting)   80/tcp, 0.0.0.0:8001->8001/tcp     kimai-kimai-1
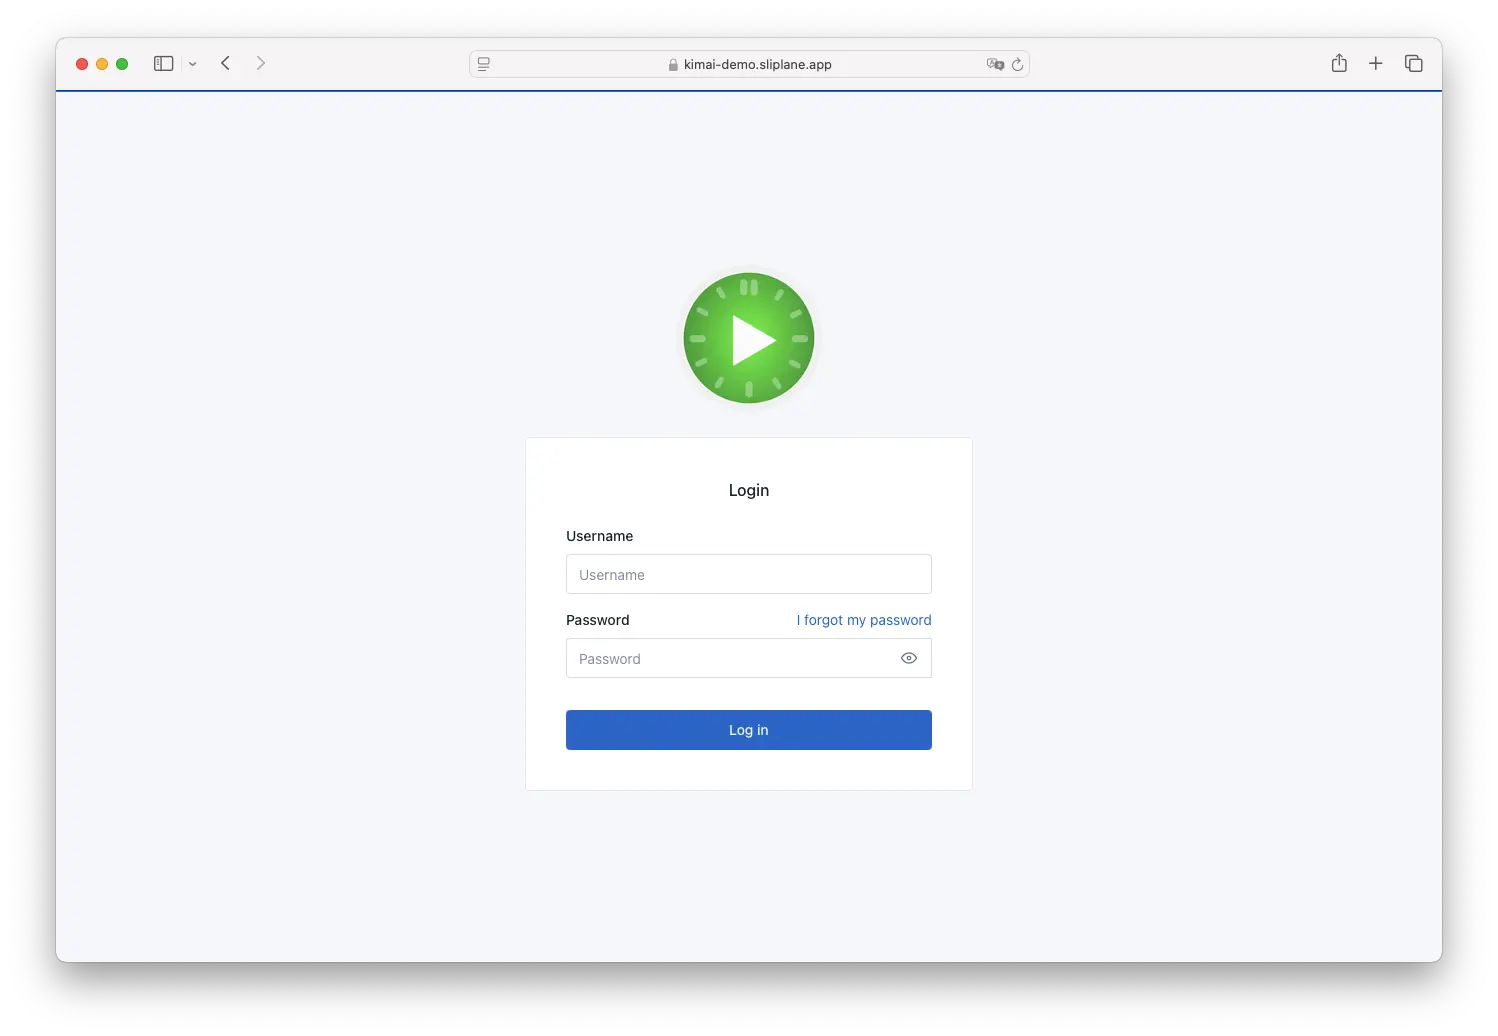
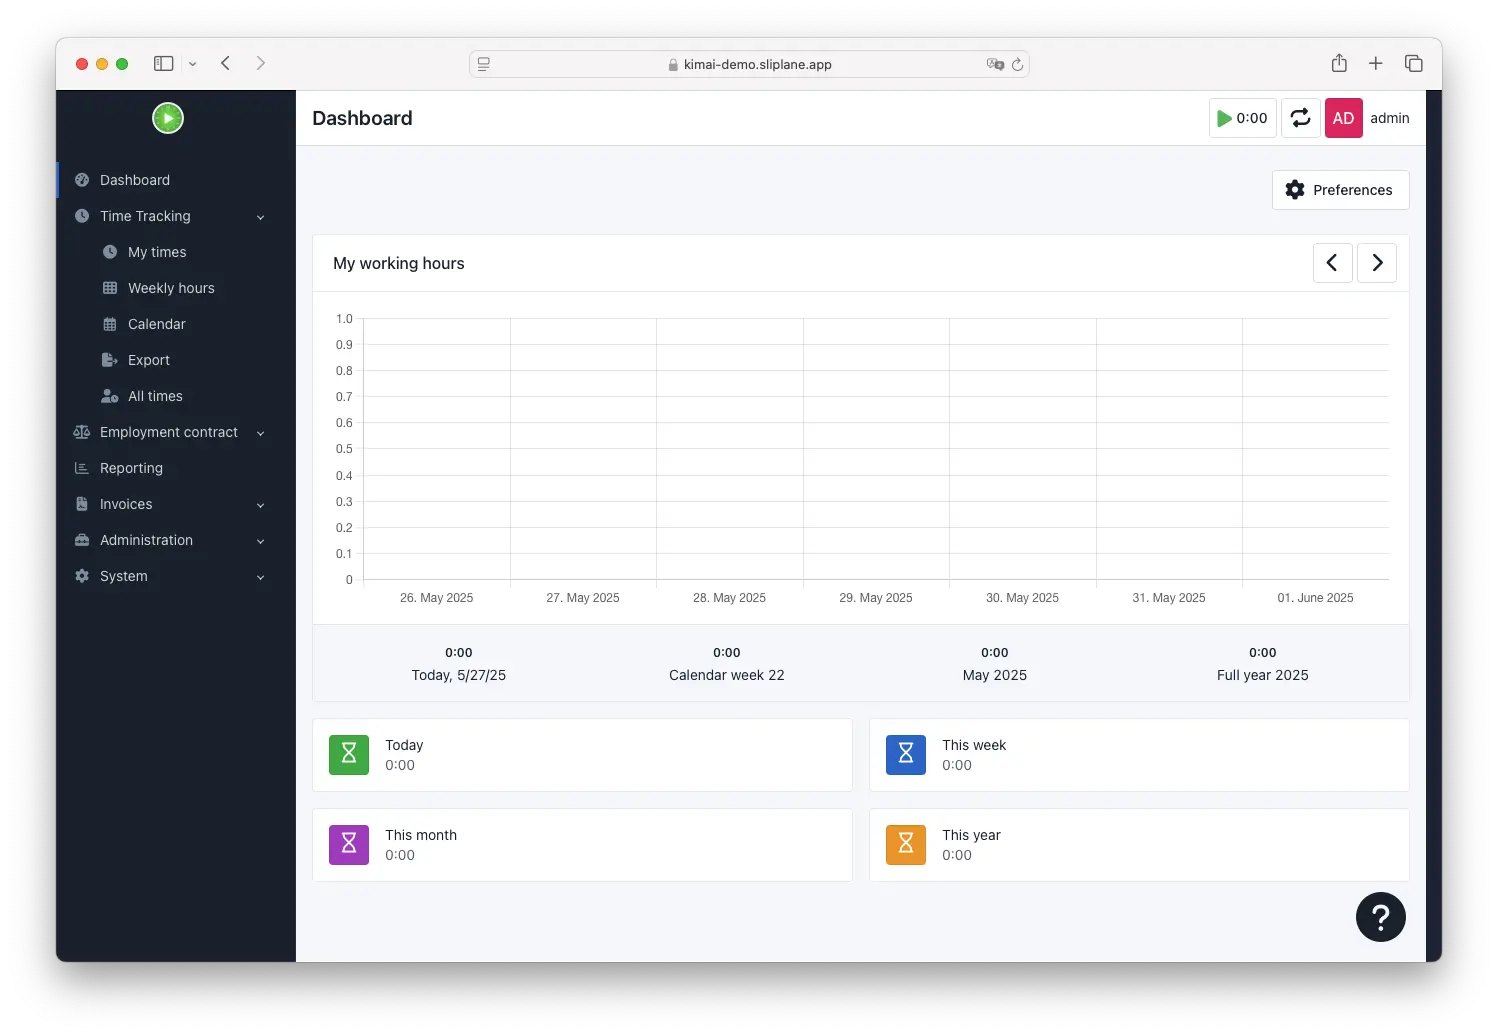
5. Access Kimai in Your Browser
Visit https://yourdomain.com
You'll be prompted to log in with the email and password you set in the Compose file.
Once logged in, you'll land on the dashboard:
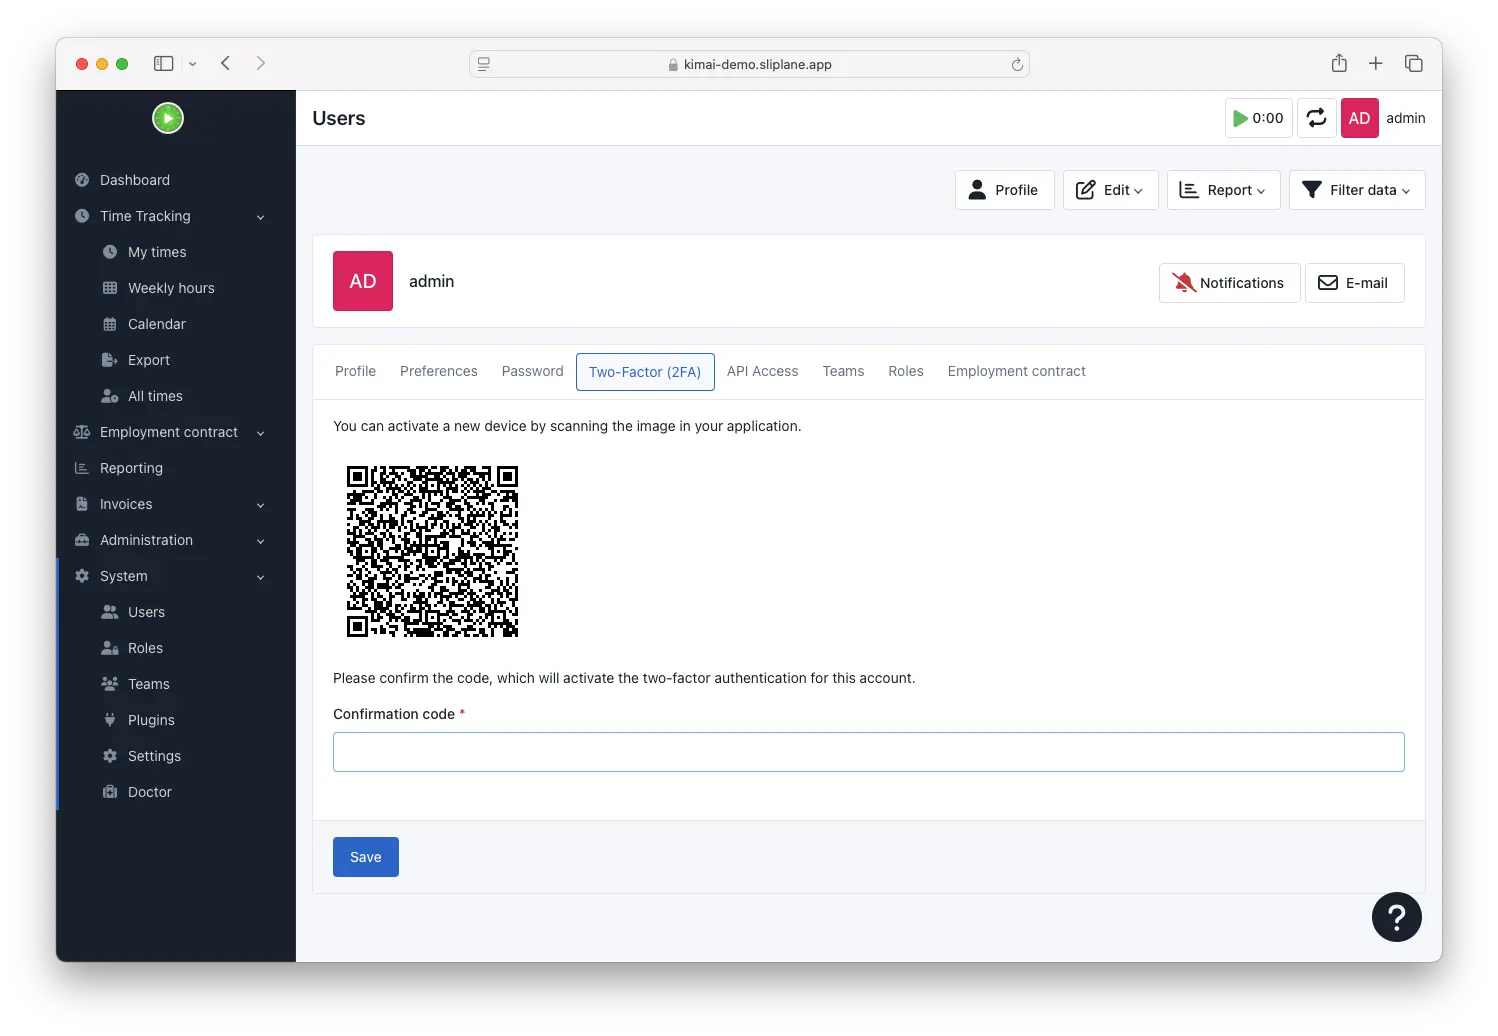
6. Keep It Secure
Running your own server means you're responsible for security. Here are the basics:
- Enable 2FA in Kimai - This adds an extra layer of security beyond passwords
- Use strong passwords - Weak passwords are the most common security vulnerability
- Update Docker images regularly - New versions often include security fixes
- Enable automatic OS updates or run
apt upgradefrequently - Keep your system secure - Install Fail2ban to block brute-force attacks to your server - Prevents automated login attempts
- Monitor logs with
docker logsandjournalctl -u caddy- Helps detect and troubleshoot issues
7. Updating Kimai
Regular updates are important for security and new features. To upgrade to the latest Kimai image:
sudo docker compose pull
sudo docker compose up -d
This pulls new images and restarts your containers. Your data stays intact because it's stored in Docker volumes. Make sure that the new Kimai version does not have any breaking changes.
8. Cost Comparison
| Provider | vCPU | RAM | Disk | Monthly Cost |
|---|---|---|---|---|
| Render.com | 1 | 2 GB | 40 GB | ~$35 |
| Fly.io | 2 | 2 GB | 40 GB | ~$17–20 |
| Railway | 2 | 2 GB | 40 GB | ~$15–30 |
| Sliplane.io | 2 | 2 GB | 40 GB | ~€9.50 flat |
| Hetzner Cloud (self-hosted) | 2 | 2 GB | 40 GB | ~€5–10 |
If you're okay with doing the setup and updates yourself, self-hosting wins on price and privacy. You get full control over your data and can run other tools on the same server.
9. Don't Want to Manage a Server?
While self-hosting gives you the most control and lowest cost, it also means you're responsible for:
- Server maintenance and updates
- Security patches and monitoring
- Backup management
- Troubleshooting issues
- SSL certificate renewal
- Performance optimization
If you'd prefer to focus on your business rather than server management, consider Sliplane. We offer managed container hosting that makes running Kimai (and other applications) simple:
- Resource-Based Pricing - Pay for what you use, not per user. While Kimai Cloud charges €4 per user (€40/month for 10 users), we charge based on server resources (around €10/month for the same setup)
- Docker Support - Run any Docker container, including Kimai
- Automatic Updates - Always running the latest secure version
- Daily Backups - Your data is safe and recoverable
- 24/7 Monitoring - We watch your application's health
- Dedicated Support - Get help when you need it
- Simple Setup - Get started in minutes, not hours
Check out our container hosting page for more details and pricing. We also have a setup guide with a video showing how easy it is to get started.
Whether you choose to self-host or use our managed service, Kimai is a great choice for time tracking. The important thing is finding the right balance between control, cost, and convenience for your needs.
Cheers,
Jonas Co-Founder of Sliplane