
How to Get Started with Django in Docker
 Lukas Mauser
There are multiple ways to install Django, but using Docker is not only the easiest way to get started quickly, it also makes it super easy to share your setup with others and closely mirror the production environment.
In this tutorial, we'll set up a new Django app using Docker and some AI-assisted coding to speed things up.
Prerequisites
Before starting, you need Docker installed and running on your machine. You can follow the instructions on the Docker website to install Docker for your operating system.
I'm writing this tutorial on macOS, but the steps should be similar on Linux and Windows.
Vibe Coding the Initial Setup
Let's get started with the boilerplate. I'm using VS Code with GitHub Copilot to speed things up.
To open Copilot chat, use the shortcut Cmd + Shift + I, choose agent mode, and start prompting. I used Claude Opus 4.5 (Preview) as the model. Here's my prompt:
setup a django app in docker
The prompt generated these files and folders:
- myproject folder - contains all the Django code (you can rename this to your desired project name, but make sure to update references in the Dockerfile and other configs)
- Dockerfile - instructions to build the Docker image
- docker-compose.yml - orchestrates the Docker image and database service
- requirements.txt - Python dependencies
- manage.py - Django management script
- .dockerignore - files to ignore when building the Docker image
- .gitignore - files to ignore in the git repository
The initial result is a good starting point, but we can improve it further. I will walk you through some optimizations below, but you can checkout the finished project on GitHub.
Dockerfile
The Dockerfile is the blueprint to build the Docker image. It tells Docker how to create a container with all the dependencies your Django app needs. For more details, check out the Dockerfile reference.
The Dockerfile Copilot created in the first draft works, but in my case it had a few issues that could be improved:
- Not leveraging multi-stage builds - the image size could be reduced
- Not using a non-root user - this is a security vulnerability and should be fixed
I found this guide on the Docker blog that proposes an optimized Dockerfile for Django apps. If you want to dive into the details, I recommend checking it out.
Here's the final Dockerfile applying those optimizations:
# Stage 1: Base build stage
FROM python:3.13-slim AS builder

# Create the app directory
RUN mkdir /app

# Set the working directory
WORKDIR /app

# Set environment variables to optimize Python
ENV PYTHONDONTWRITEBYTECODE=1
ENV PYTHONUNBUFFERED=1

# Upgrade pip and install dependencies
RUN pip install --upgrade pip

# Copy the requirements file first (better caching)
COPY requirements.txt /app/

# Install Python dependencies
RUN pip install --no-cache-dir -r requirements.txt

# Stage 2: Production stage
FROM python:3.13-slim

RUN useradd -m -r appuser && \
   mkdir /app && \
   chown -R appuser /app

# Copy the Python dependencies from the builder stage
COPY --from=builder /usr/local/lib/python3.13/site-packages/ /usr/local/lib/python3.13/site-packages/
COPY --from=builder /usr/local/bin/ /usr/local/bin/

# Set the working directory
WORKDIR /app

# Copy application code
COPY --chown=appuser:appuser . .

# Set environment variables to optimize Python
ENV PYTHONDONTWRITEBYTECODE=1
ENV PYTHONUNBUFFERED=1

# Switch to non-root user
USER appuser

# Expose the application port
EXPOSE 8000

# Start the application using Gunicorn
CMD ["gunicorn", "--bind", "0.0.0.0:8000", "--workers", "3", "myproject.wsgi:application"]
This optimized version:
- Uses multi-stage builds to keep the final image small
- Creates a non-root user for better security
- Uses gunicorn instead of the Django development server for production
docker-compose.yml
The docker-compose.yml file lets you define the run configuration for multiple services. For Django, we typically need at least two services: the web application and a database. PostgreSQL is the most popular choice for Django projects.
For more details, see the Compose file reference.
Similar to the Dockerfile, the initial draft generated by Copilot works but can be improved:
Environment variables are written directly into the file. This is not recommended since you can easily leak secrets or accidentally check them into git.
Instead, create a .env file and put all environment variables there:
# Postgres
POSTGRES_DB=django_db
POSTGRES_USER=postgres
POSTGRES_PASSWORD=your_secure_password

# Django
ALLOWED_HOSTS=localhost,0.0.0.0
CSRF_TRUSTED_ORIGINS=localhost,0.0.0.0
DATABASE_URL=psql://postgres:your_secure_password@db:5432/django_db
DEBUG=1
Important: Make sure to replace all credentials and update the database connection parameters if needed.
Note: The app Co-Pilot spit out is parsing the ALLOWED_HOSTS and CSRF_TRUSTED_ORIGINS from environment variables. Make sure to adjust your Django settings accordingly.
I also cleaned up some other parts that CoPilot snug in, including:
- the version tag, it's deprecated in the latest Docker Compose versions
- a command override which used the Django developemnt server instaead of gunicorn
- a bind mount for the app folder that is sometimes used for development
- upgraded postgres to version 17 and adjusted the mount path for the data volume accordingly
And I ended up here:
services:
  web:
    build: .
    ports:
      - "8000:8000"
    env_file:
      - .env
    depends_on:
      - db

  db:
    image: postgres:17
    volumes:
      - postgres_data:/var/lib/postgresql/data
    env_file:
      - .env

volumes:
  postgres_data:
Don't forget to add .env to your .gitignore file.
Run the App
You can spin up the app using Docker Compose:
docker compose up -d
The -d flag runs the containers in detached mode (in the background). To check if everything is running, use:
docker compose ps
To view the logs:
docker compose logs -f
Once everything is up, you can access your Django app at http://localhost:8000.
Deploy to the Cloud
You can easily deploy this dockerized Django app to any cloud provider that supports Docker. For this tutorial, we'll use Sliplane, which makes it super easy to deploy Docker applications.
Before we can get started, make sure to push your project to a GitHub repository and we will deploy it directly from there. Sliplane creates a convenient deployment pipeline that automatically builds and deploys new commits from the repository.
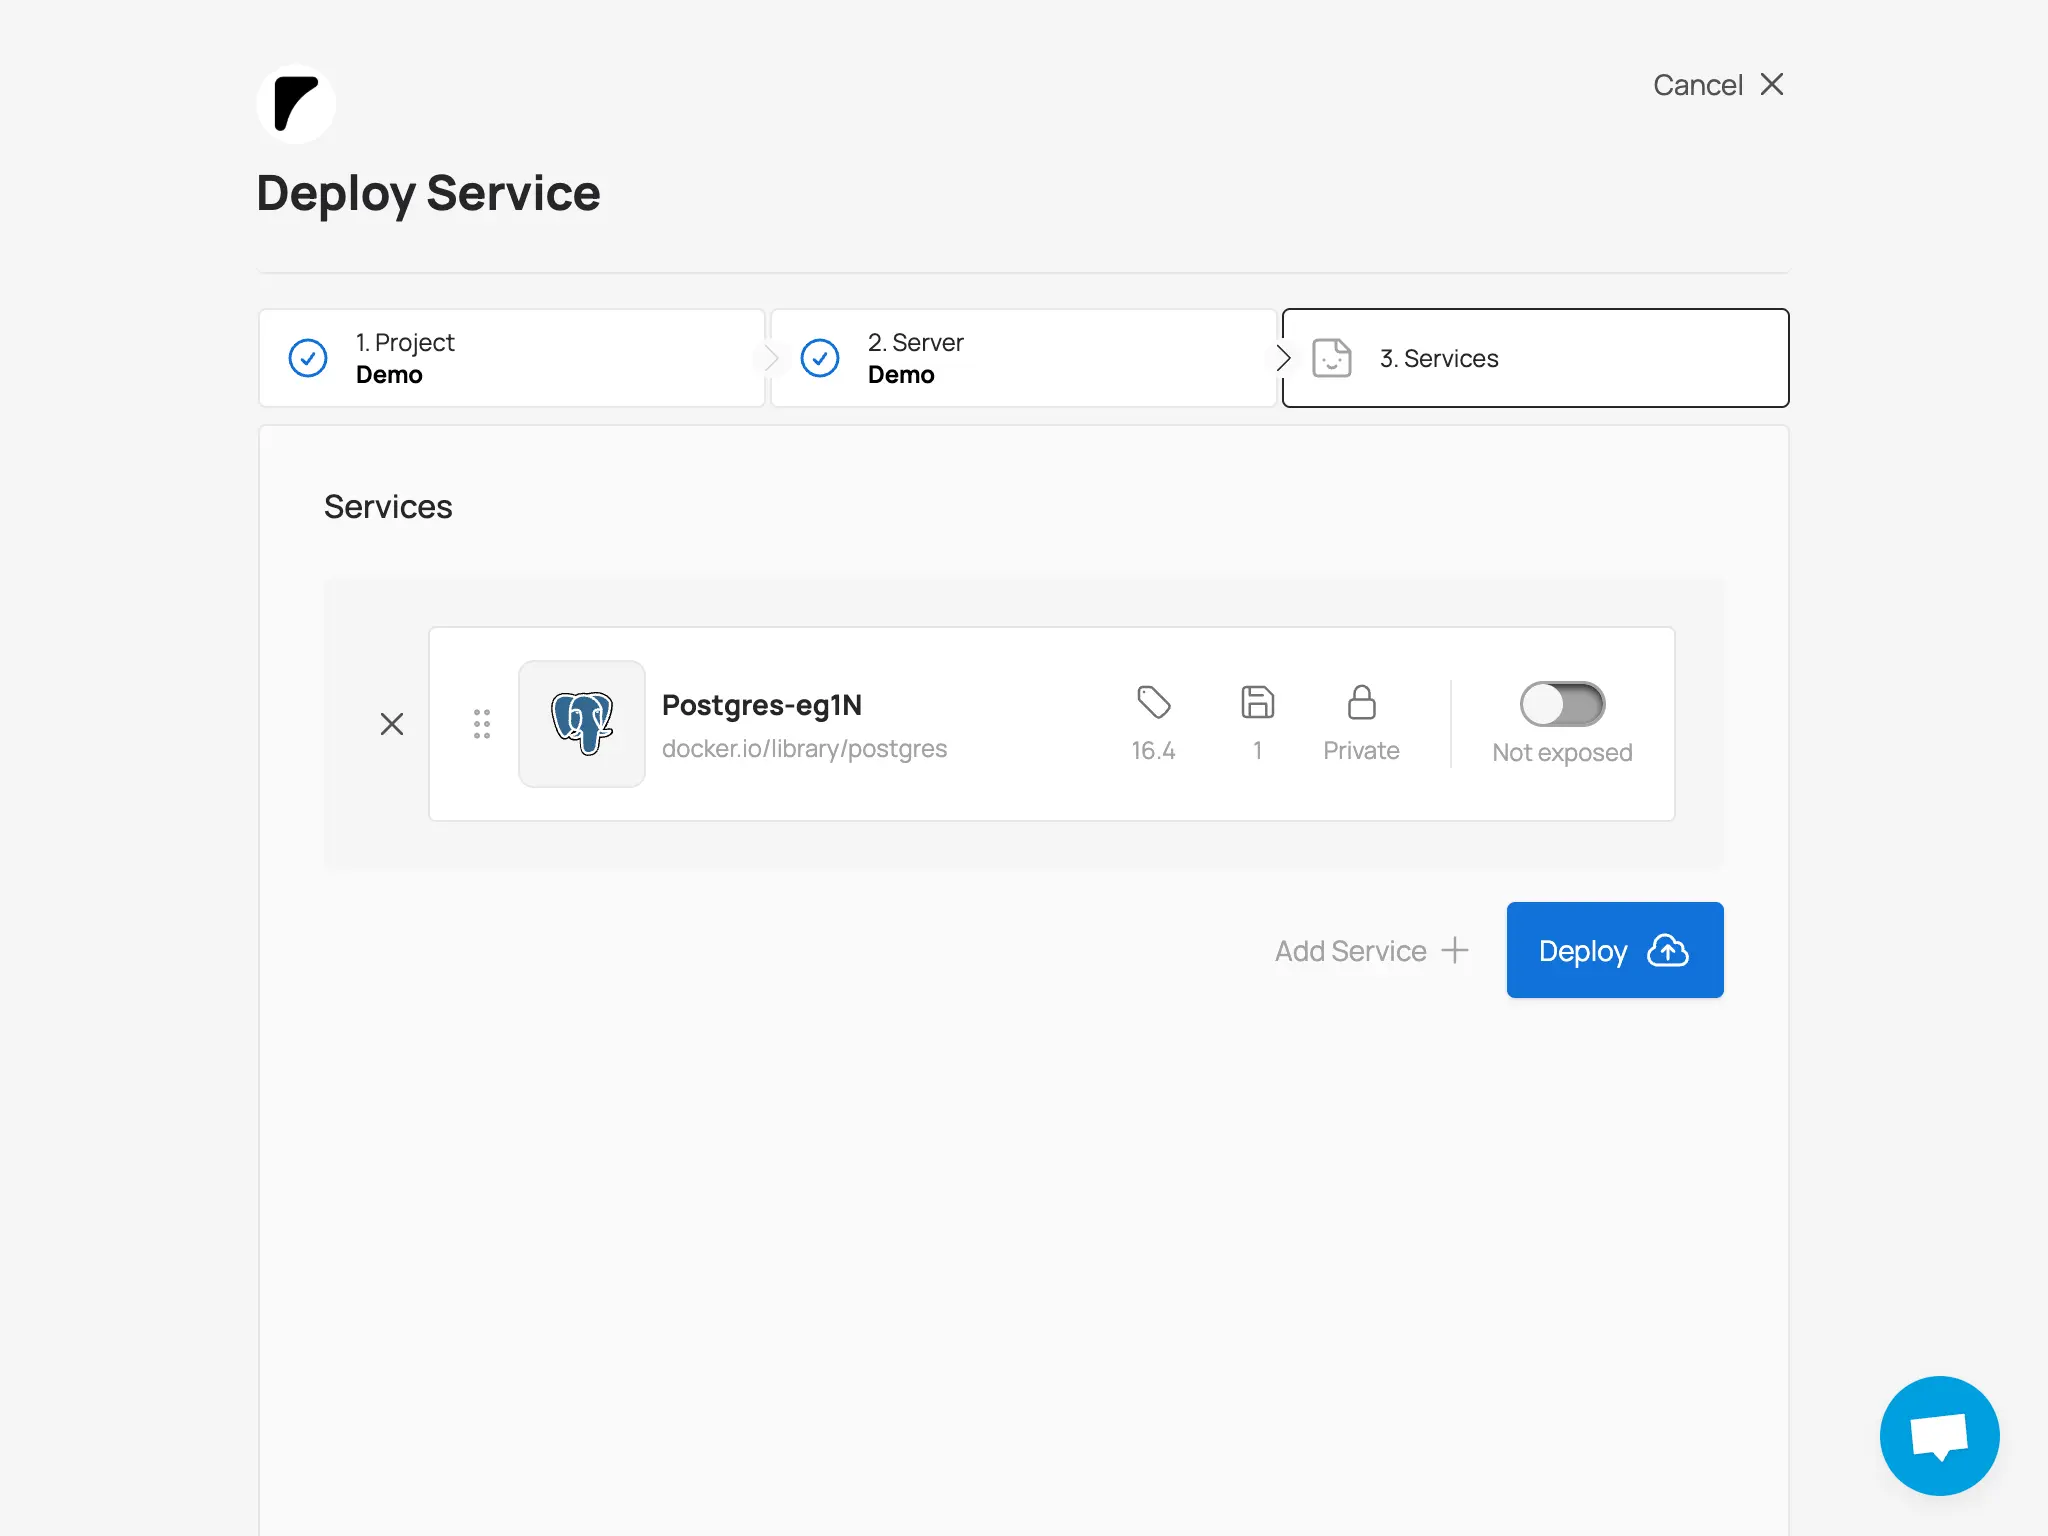
Once the repo is on GitHub, we will start with deploying a database, using Sliplane's one click deploy preset for Postgres:
1.) Login to Sliplane using your GitHub account at sliplane.io 2.) Create a new project and give it a name 3.) Inside the project, click "Deploy Service" 4.) Choose a Server to deploy the service to, or create a new one if you don't have one yet. The base server should be strong enough to run your Django app and the database. 5.) Select the server and click "Add service". Select the postgres preset. You can adjust the preset settings if needed. We will disable the public toggle since the database should not be publicly accessible and click "Add service" in the top right corner.
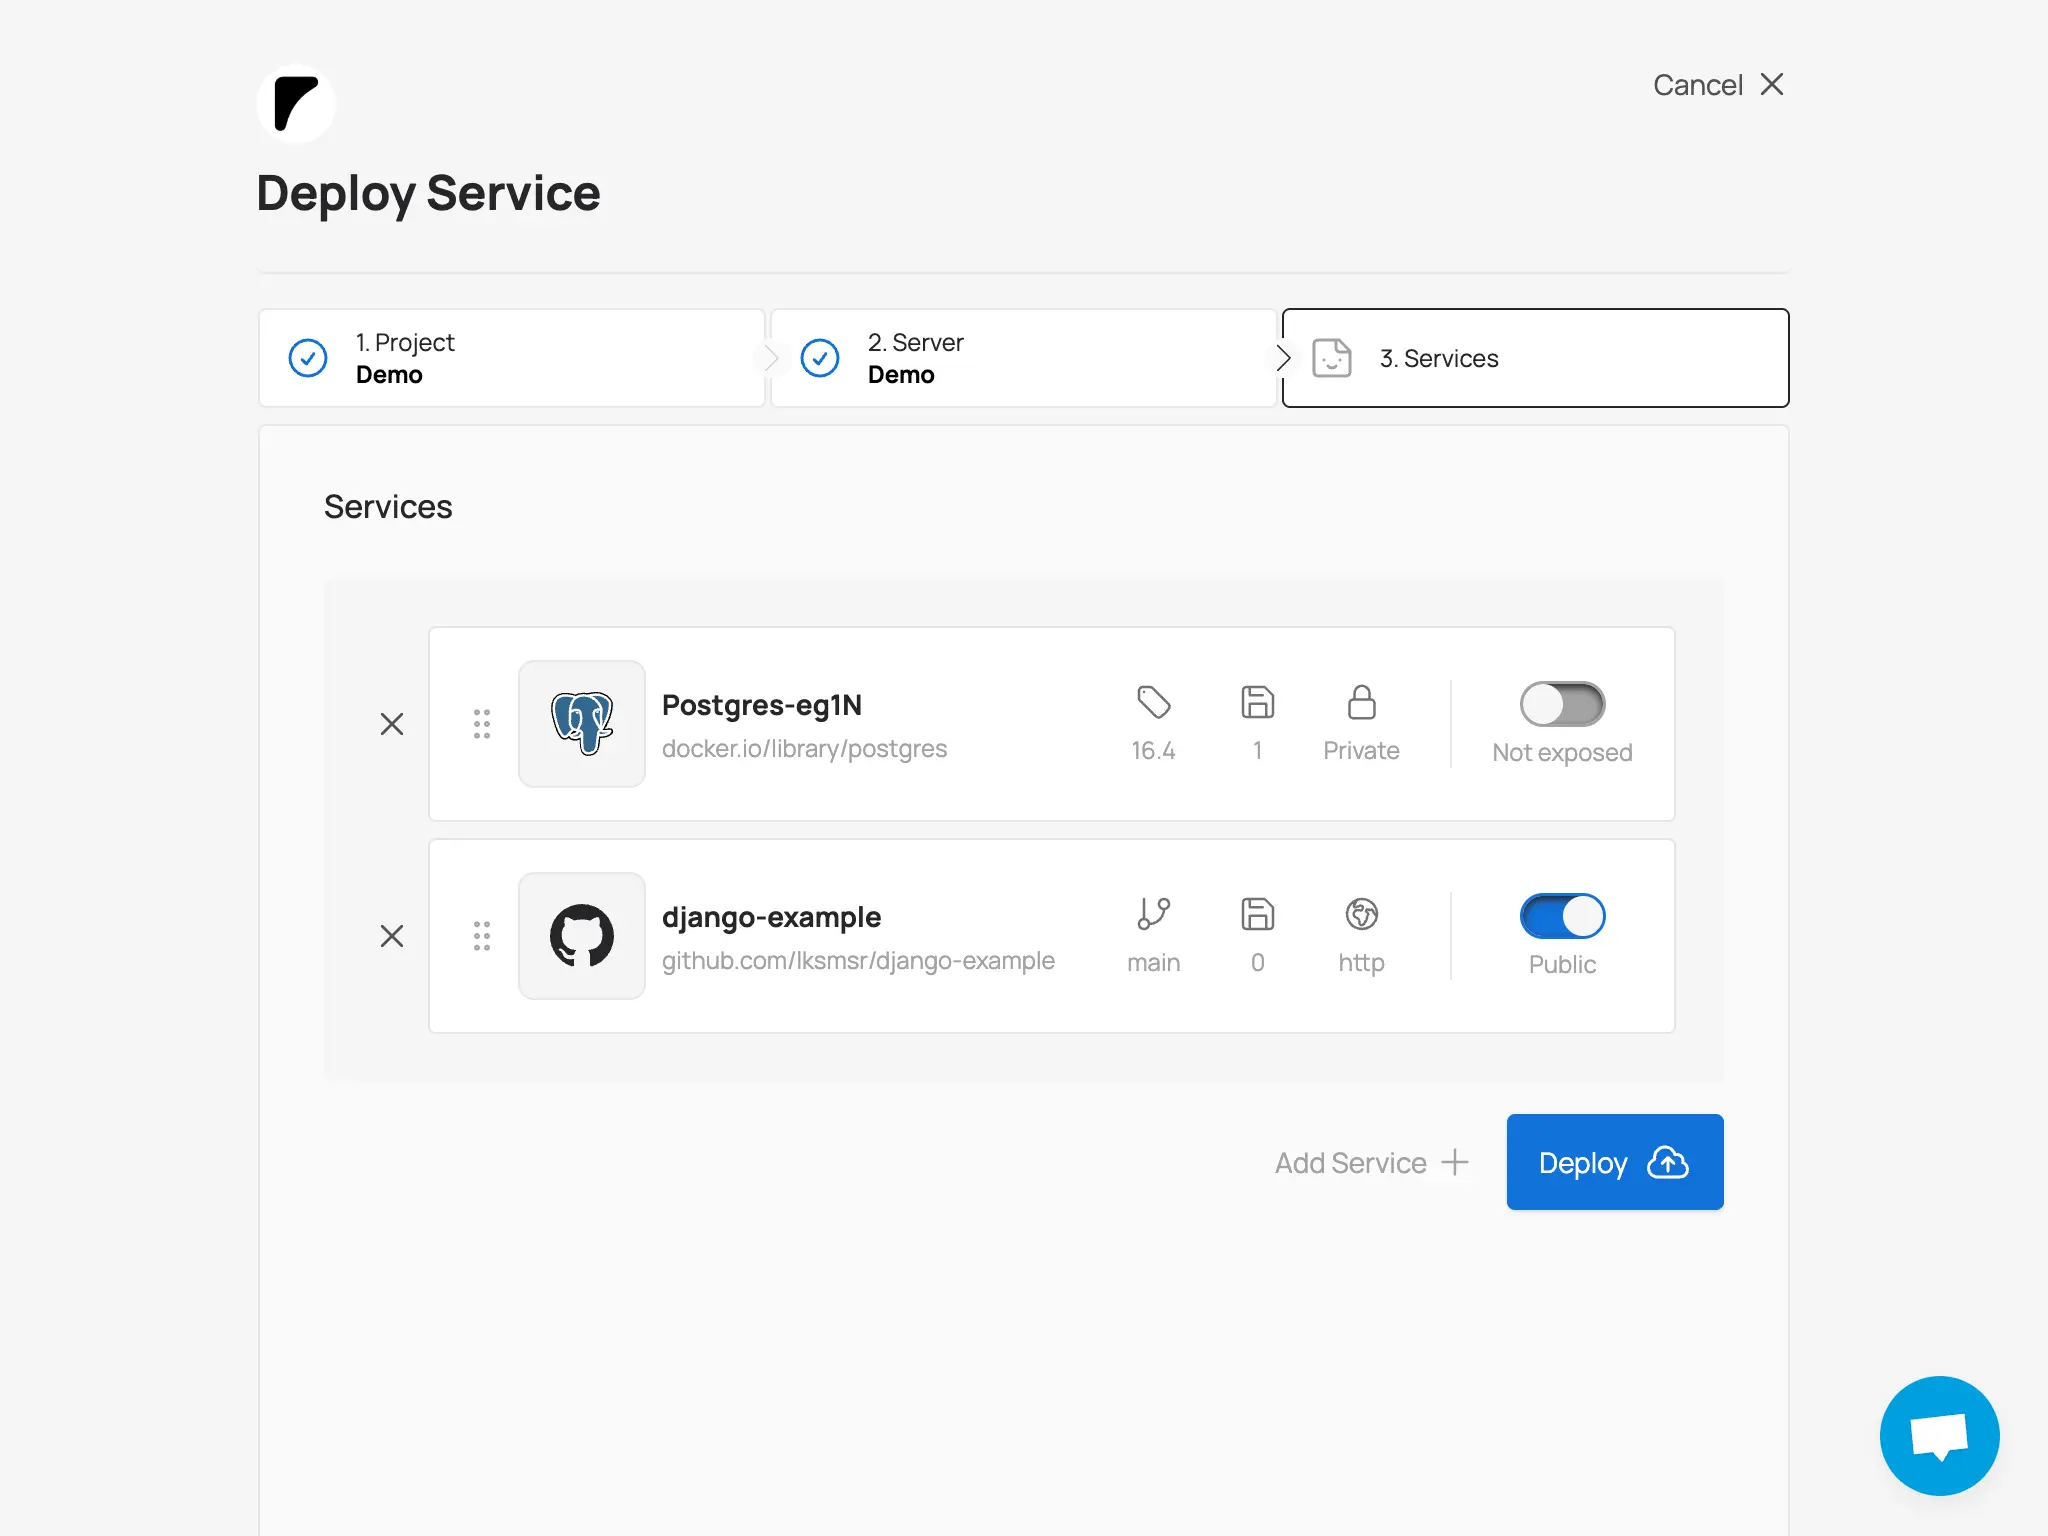
Deploy Django:
6.) Click "Add service" again and select "Repository" as a deploy source 7.) Look for your Django project in the repository input field and select it. This time, make sure to leave the public toggle on, using the default http protocol and healthcheck path. 8.) Add the following environment variables to the env input field, adjusting the values as needed:
ALLOWED_HOSTS="$SLIPLANE_DOMAIN"
CSRF_TRUSTED_ORIGINS="https://$SLIPLANE_DOMAIN"
DATABASE_URL="psql://POSTGRES_USER:POSTGRES_PASSWORD@POSTGRES_INTERNAL_HOST/POSTGRES_DATABASE" # replace with your actual database connection string
Use the credentials of the database that we just configured earlier to connect to it. You can reference the internal endpointname using this pattern: ${SERVICE_NAME}.INTERNAL_HOST, so in case your database is called
dbthe internal endpointname becomesDB.INTERNAL_HOST.
We're also referencing the Sliplane assigned domain of our Django app using the built-in
$SLIPLANE_DOMAINvariable
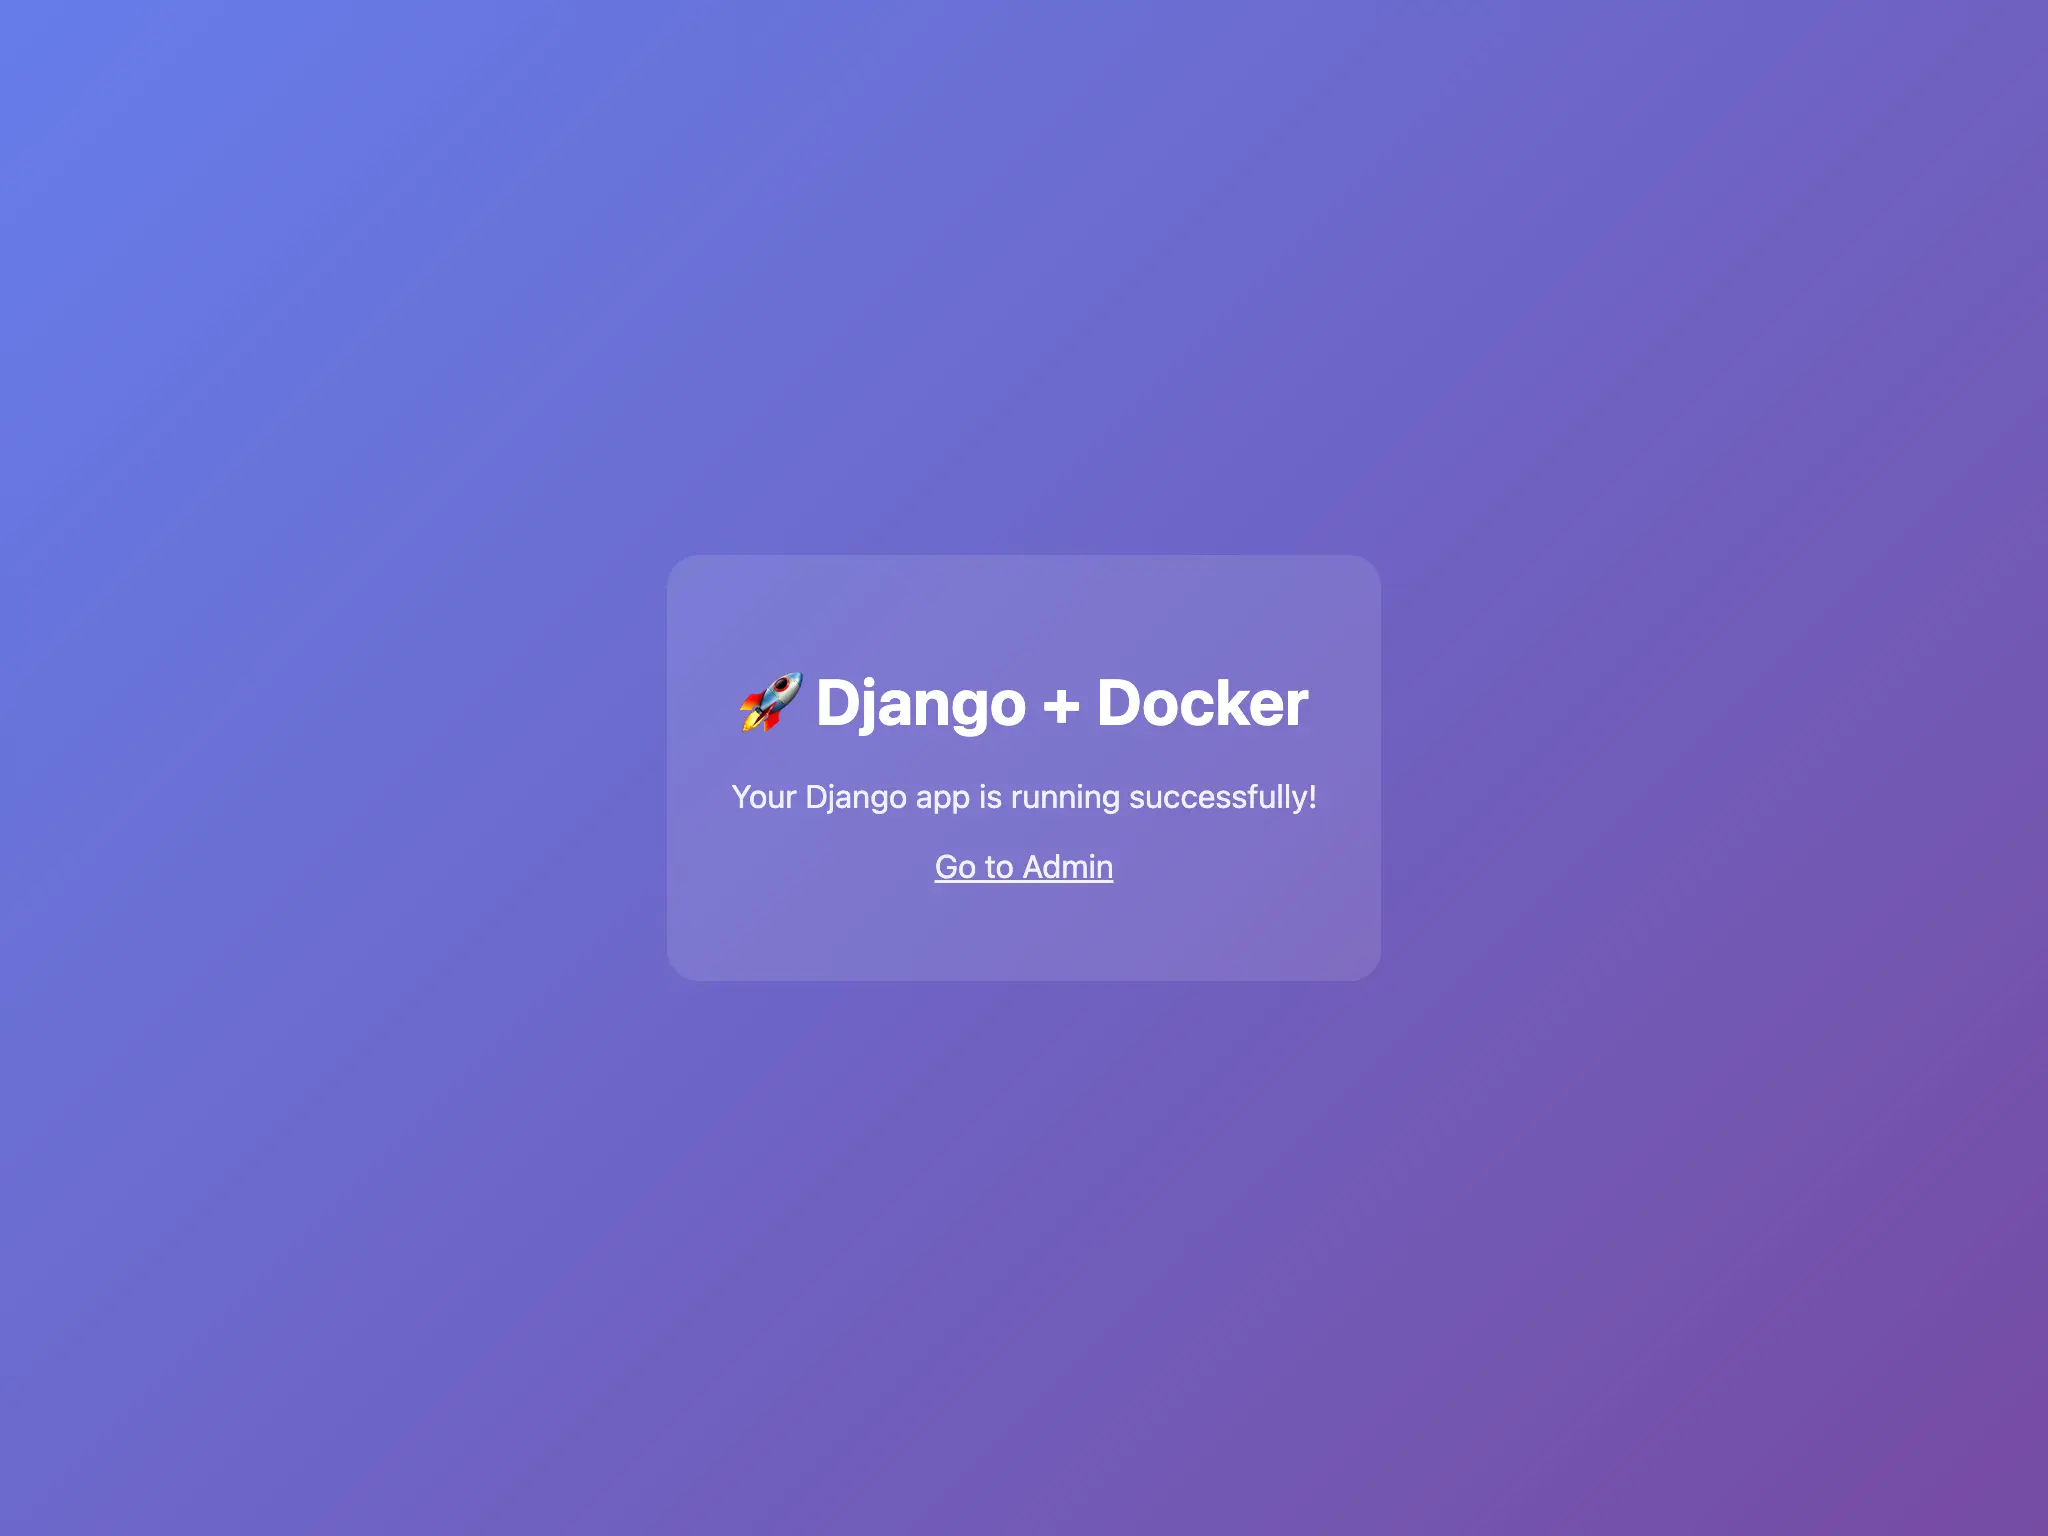
9.) After adding the environment variables, make sure the public toggle is on. Click "Add service" and "Deploy". Once the deployment is complete, your Django app will be live and connected to the PostgreSQL database you set up earlier. You can access it via the Sliplane assigned domain.
10.) After the services have been deployed, you can connect to the service via SSH and run the database migrations:
python manage.py migrate
As well as create a superuser to access the Django admin:
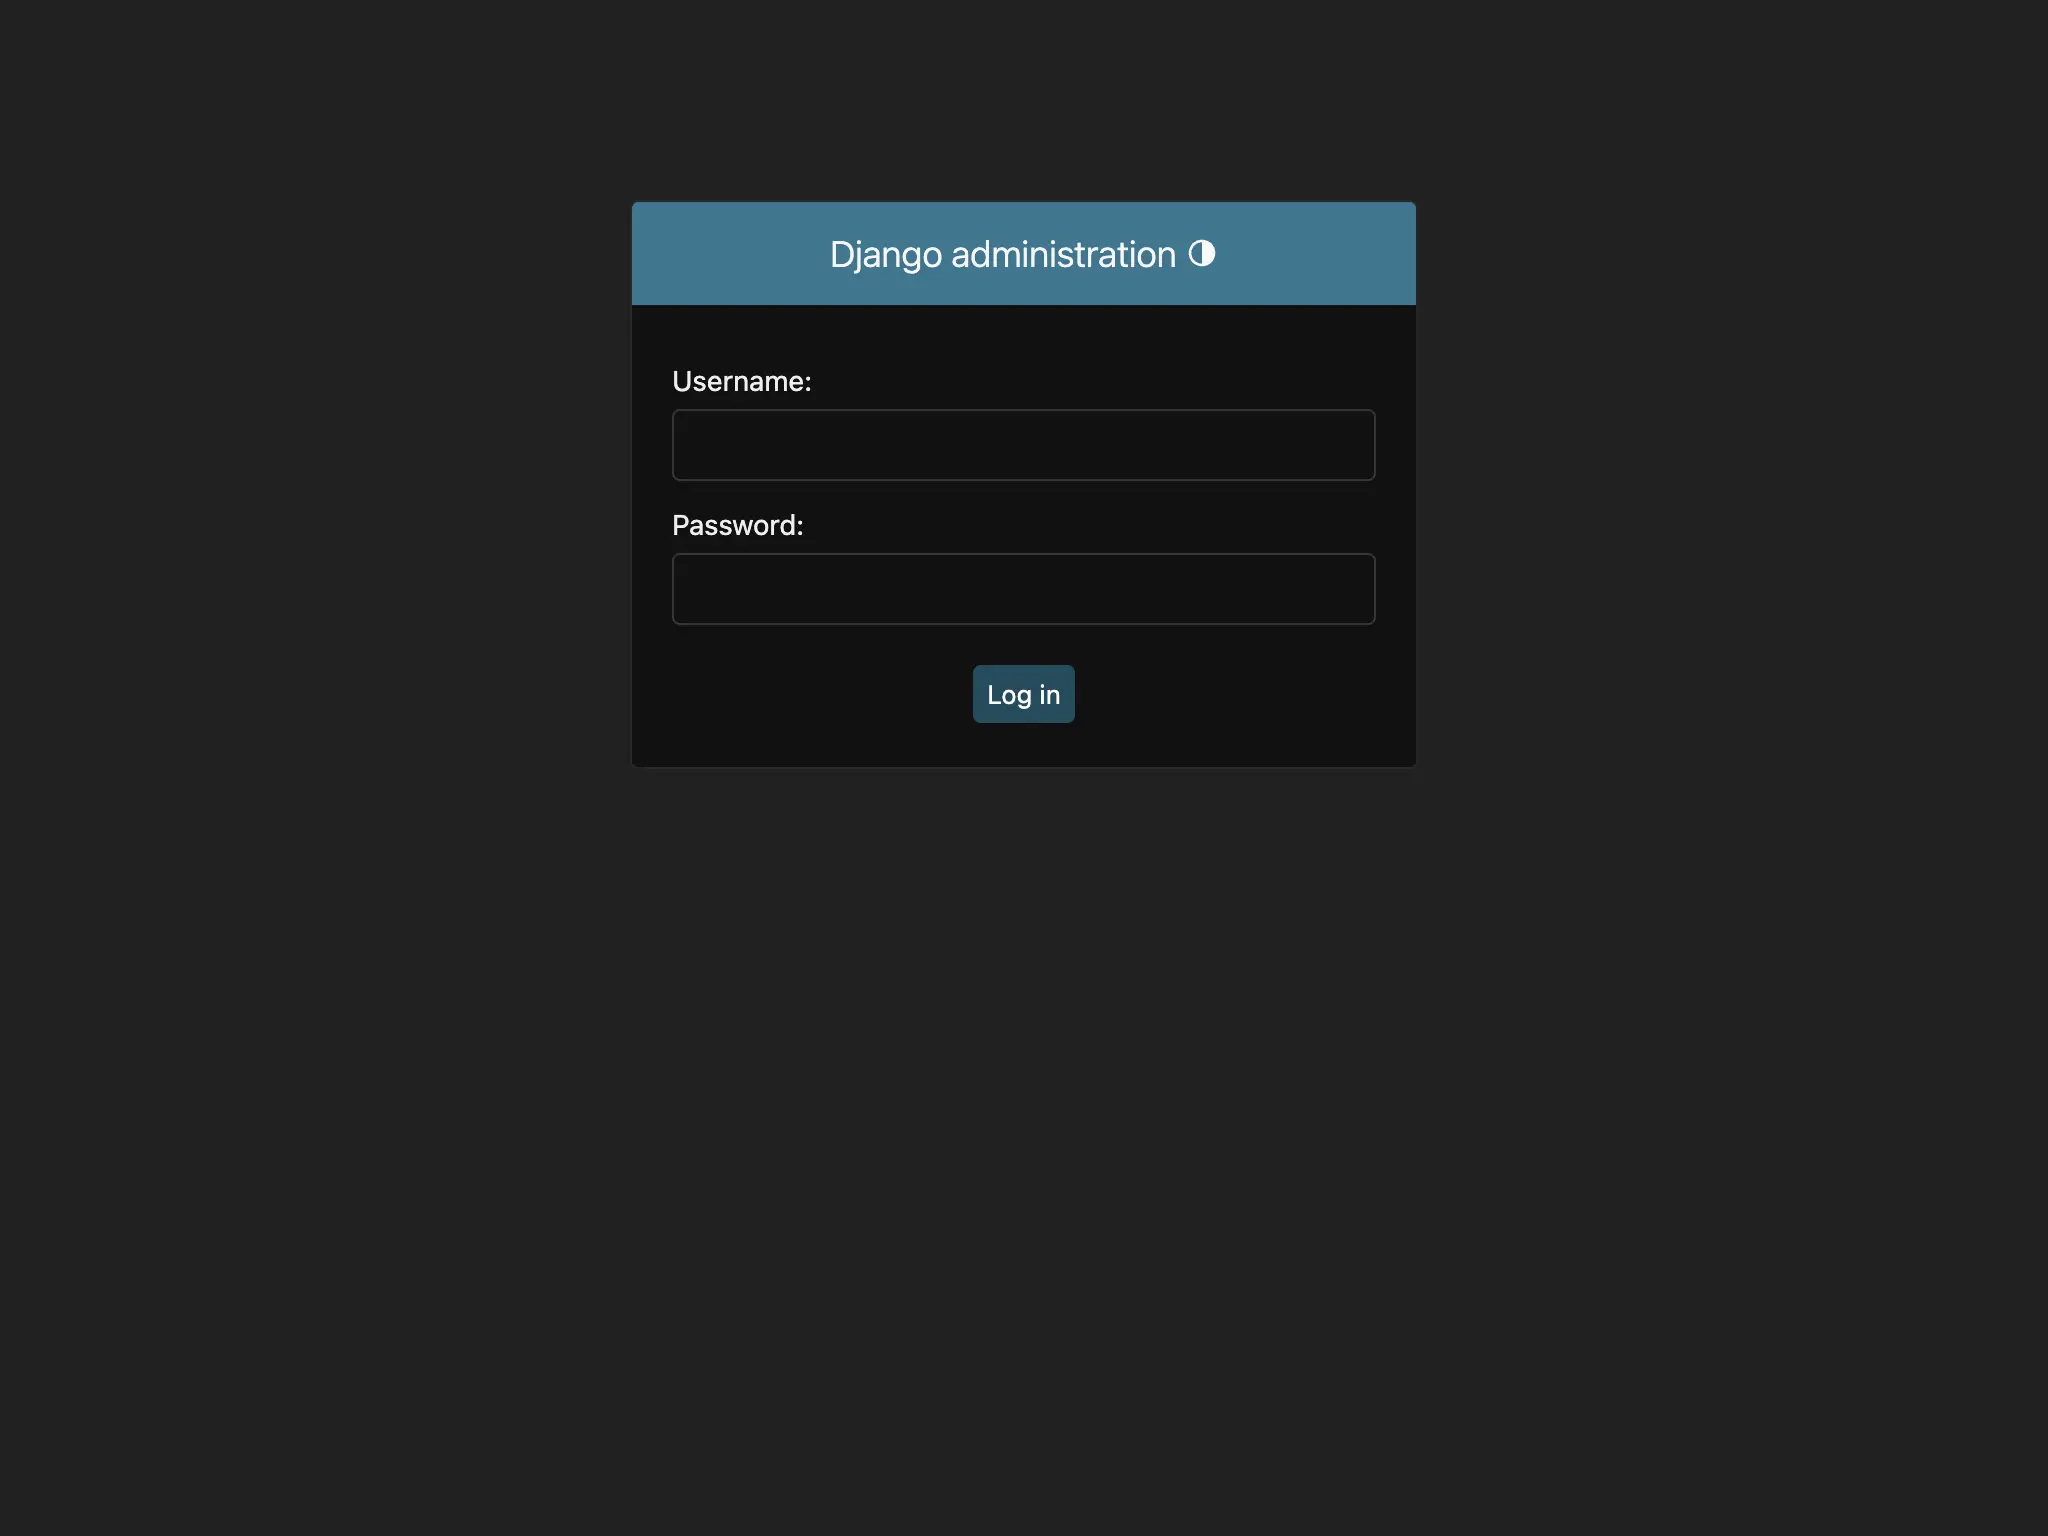
python manage.py createsuperuser
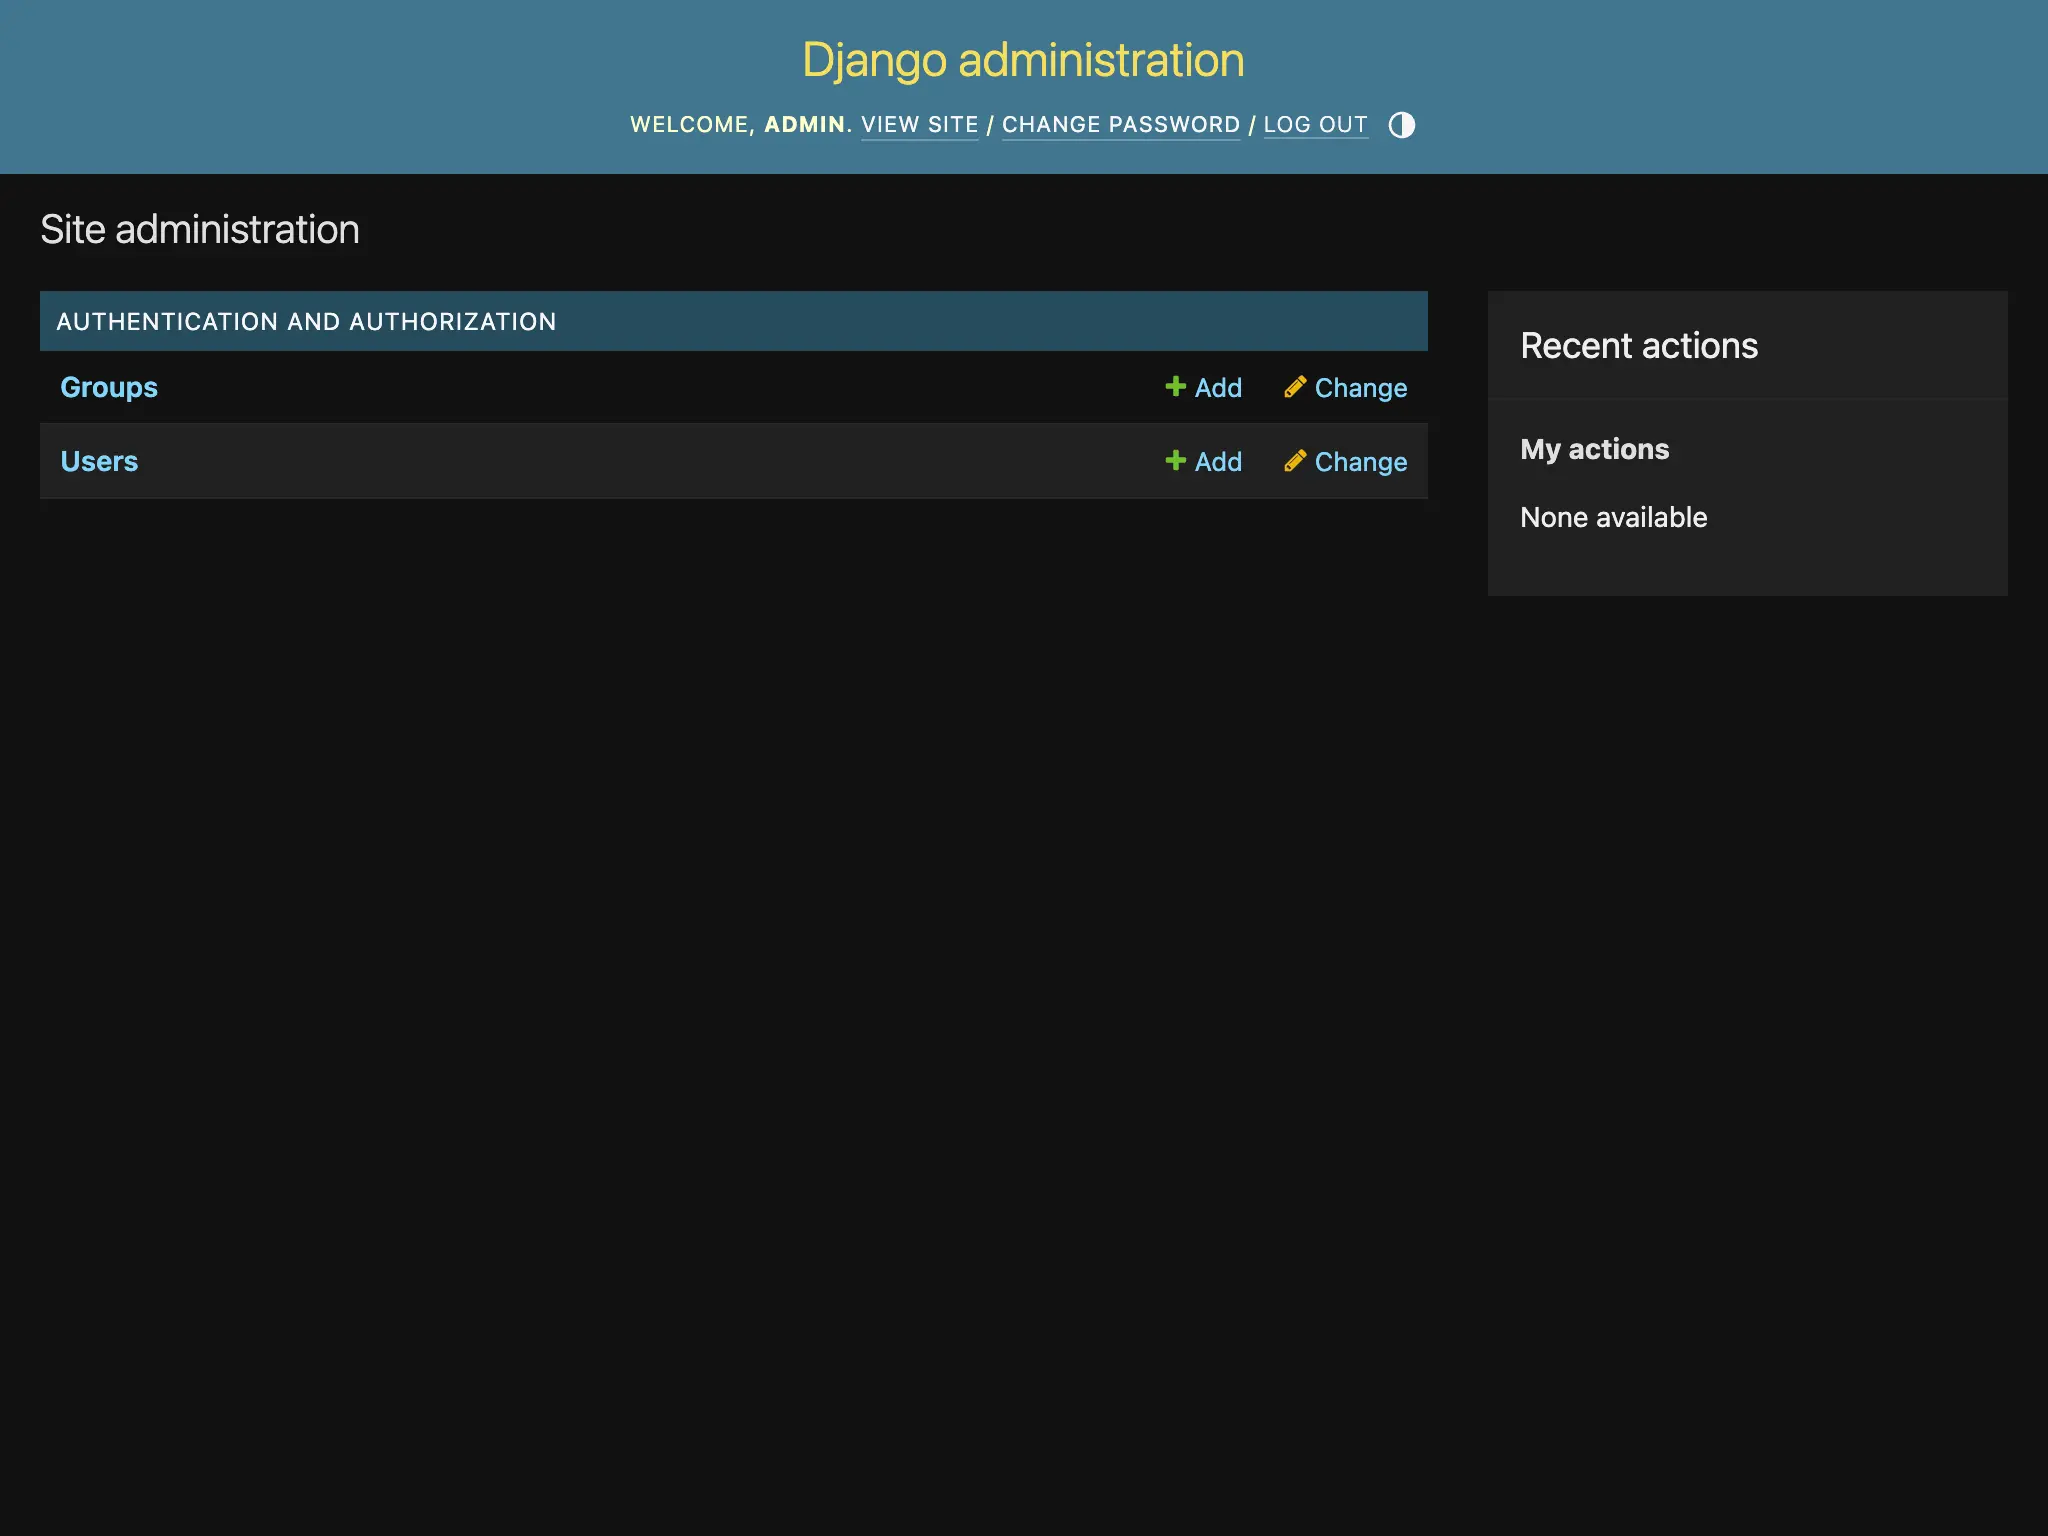
You are now ready to log in to the Django admin at https://your-django-service.sliplane.app/admin using the superuser credentials you just created.
Summary
Running Django in Docker makes it easy to get started quickly and share your setup with your team. You also operate close to the production environment, which helps avoid the dreaded "works on my machine" issues.
You can use AI tools like GitHub Copilot to generate a first draft of the Django Docker setup, but make sure to review and optimize the generated files as described in this guide.
To deploy your dockerized Django app, you can use Sliplane to easily get the app running in the cloud within minutes!