How to add Bug Tracking to your Apps (Free Open Source Tool) - Bugsink 🐞
 Lukas Mauser
Video Tutorial
Bugsink is a free and open source bug tracking solution that allows you to collect all errors that are happening across your applications in a central place.
I tried a few open source bug trackers, but from what I found they look either very old (https://www.bugzilla.org/) or super heavy (https://sentry.io). Bugsink provides a nice middle ground so I encourage you to give it a try.
In this tutorial, we'll spin up our own instance of Bugsink using Sliplane.
Step 1: Spin up a Database
You can find detailed installation instructions in the docs. We will choose the Docker installation and use a MySQL database as a persistent data store.
We will start by spinning up a database:
- Go to sliplane.io and sign in with your GitHub account
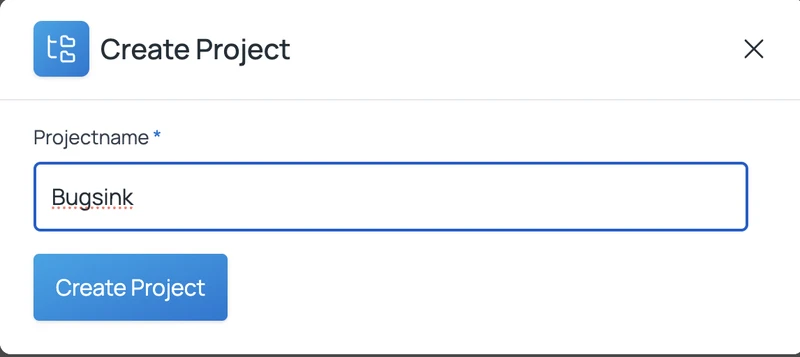
- Click on "Create Project" and give it a name of your choice. I will choose "Bugsink" as a project name.
- Click on the project and hit "Deploy Service"
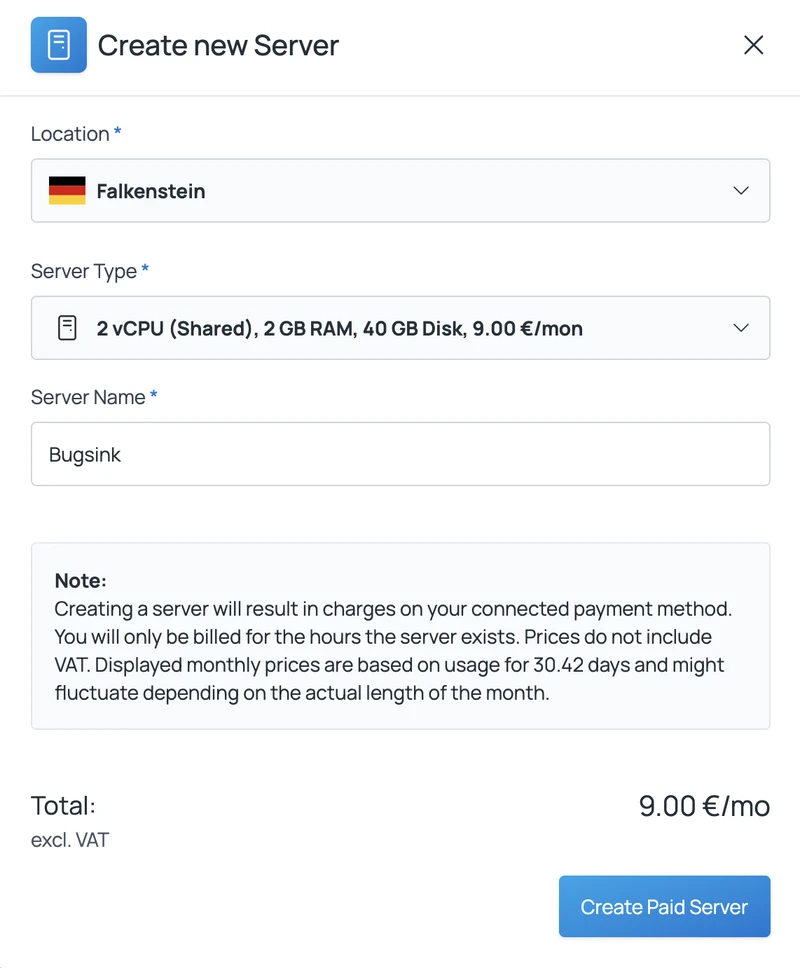
- If you don't have a server yet, click on "Create Server" and choose a location and server type. The default server type is plenty strong to run MySQL and Bugsink and you can scale it up later so I recommend starting with the default. Choose a name for your server and hit "Create Paid Server".
- Once the server has been created and shows up in the list, you can select it to continue
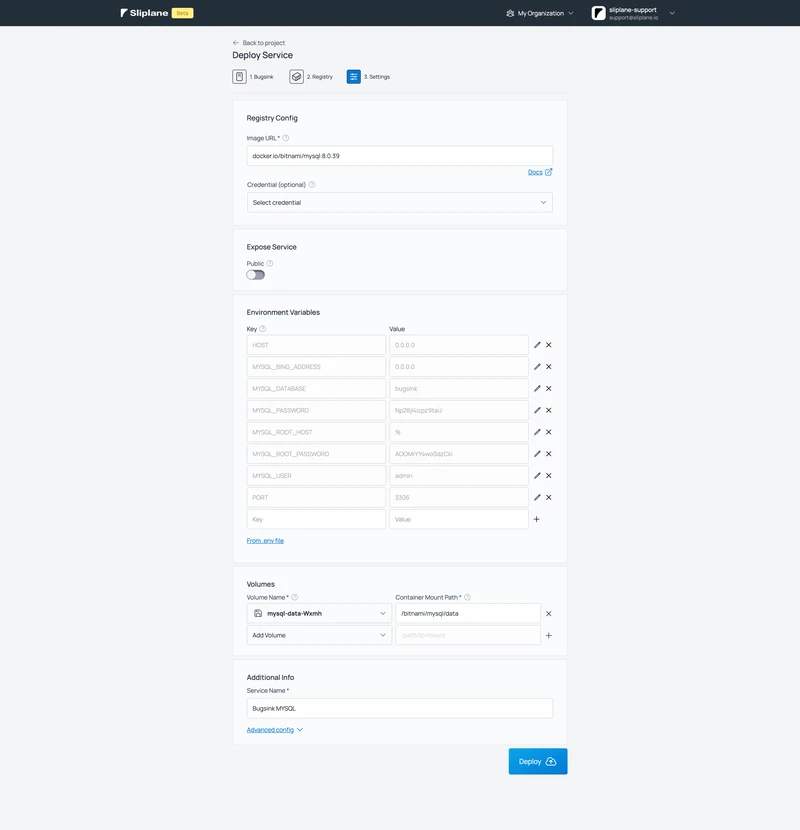
- Choose "MySQL" from the pre configured image list
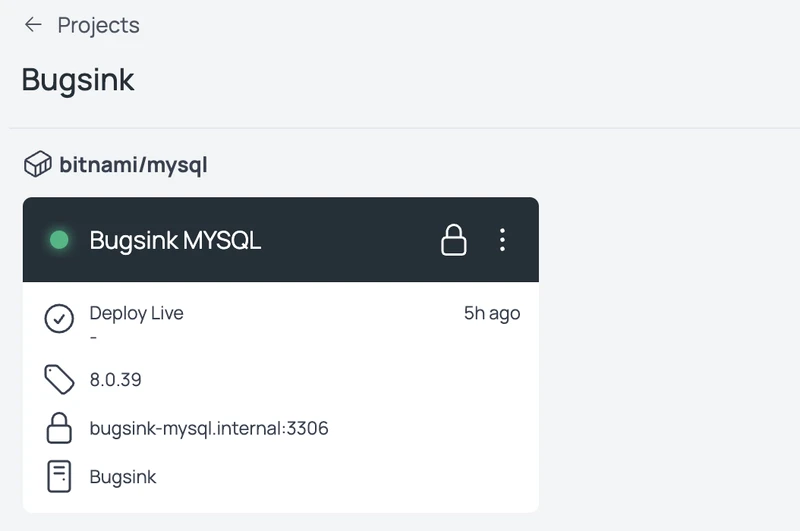
- On the deploy settings screen, you can apply some optional settings: Disable "public" for more security, change the database name to "bugsink" and rename your service "Bugsink MySQL". These settings are optional but recommended.
- Hit deploy and wait for the deploy to finish until you see a green dot lighting up, which indicates that your MySQL database is ready to accept connections.
Step 2: Deploy Bugsink
Next up, we will deploy Bugsink.
- In the Bugsink project, click "Deploy Service" again.
- Choose the server, where your database is running on
- Click on deploy from "Registry"
- In the "Image URL" input, search for "bugsink" and choose the official bugsink image from the dropdown as well as the version of bugsink that you want to install. It's recommended to use a pinned version in production to avoid unintentional upgrades of the service.
- Add the following environment variables. Click on "from .env file" and paste in this content:
SECRET_KEY=[a 50 chars long secret key]
DATABASE_URL=mysql://[user]:[password]@[host]/[name]
CREATE_SUPERUSER=[admin username]:[admin password]
BEHIND_HTTPS_PROXY=true
BASE_URL=[your sliplane.app url]
Important: These environment values contain placeholders! you need to replace everything that is inside square brackets
[]with actual values! You can find all database connection settings in the MySQL Sliplane service. TheCREATE_SUPERUSERname and password are arbitrary. TheSECRET_KEYas well, but it has to be 50 chars long and needs uppercase and lowercase characters and numbers. TheBASE_URLcan be found in the settings of your "Bugsink" app on Sliplane after your first deploy, so make sure to update this value after you deployed the app.
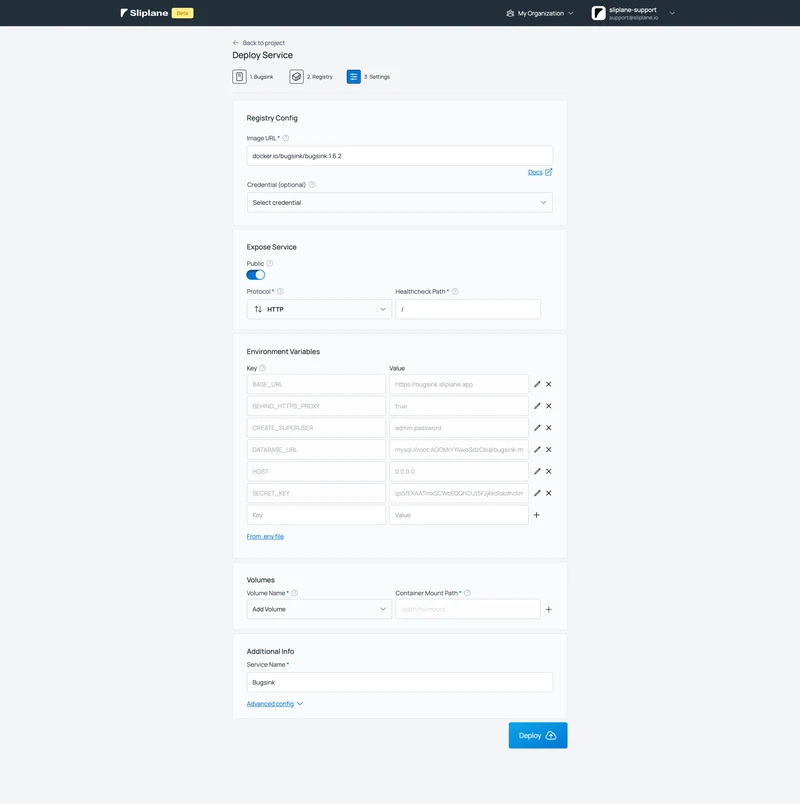
- Optionally, change the name to "Bugsink" and hit "Deploy".
After a little while, your application should be deployed and the green light should be visible.
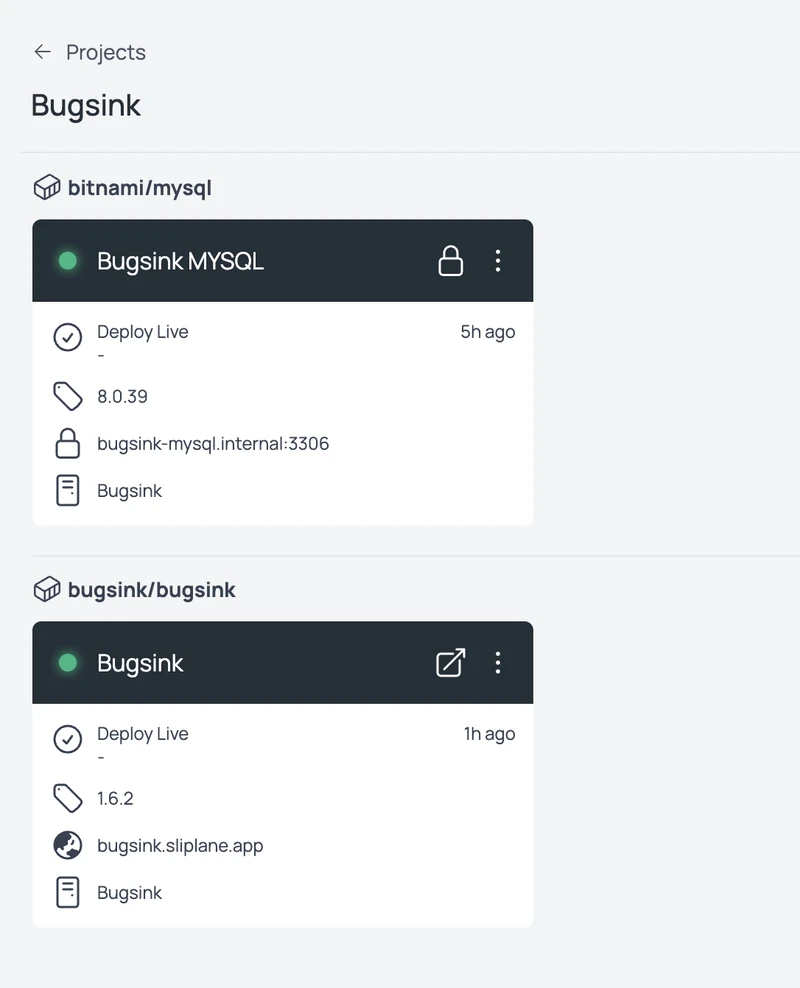
We can test if everything is working, by navigating to the "Public Endpoint" that is displayed in your "Bugsink" Sliplane app and login with the superuser credentials that we passed as environment variables when we deployed the application.
Note: Once the superuser has been created, you can not overwrite the credentials via envs!
Step 3: Instrument your App using the Sentry SDK
Instrumenting means, we will inject statements in our code, that send errors to our backend. Depending on your stack, there are tools that do this automatically for you, for example Sentry.
Sentry is an open source bugtracker itself, but it is pretty heavy and we can just use their client side SDK for instrumentation and send the data to Bugsink.
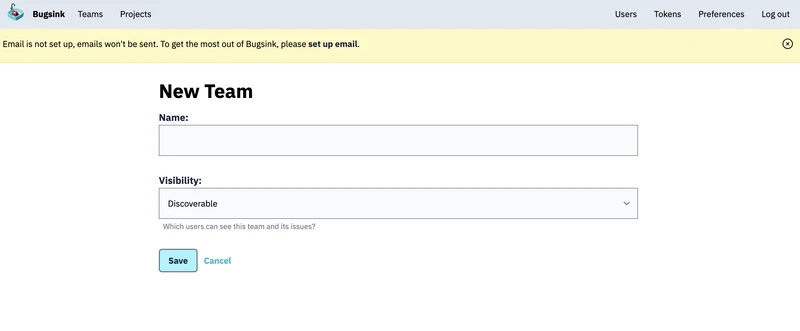
Before we can get started with instrumenting our apps, we need to create a new Team and a new Project in Bugsink first:
- Click on "Teams" and then "New Team". Give it a name and visibility setting of your choice and click on "Save"
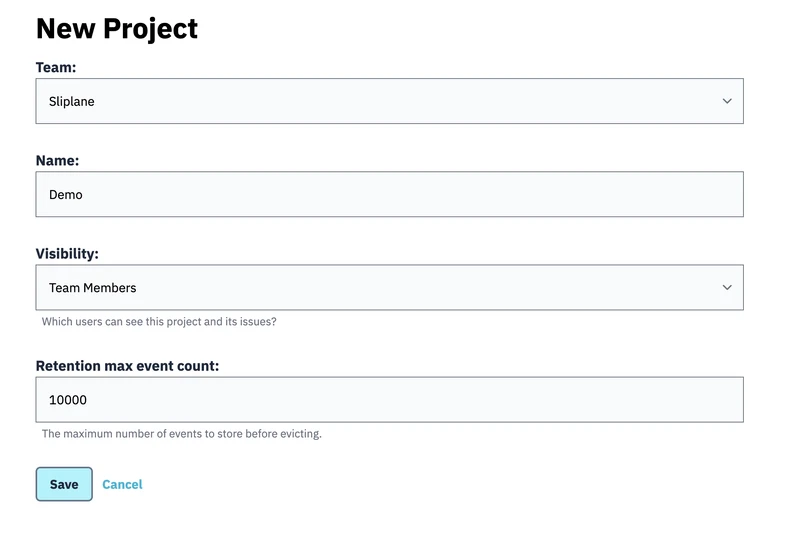
- Click on "Projects" and then "New Project". Fill out the form and hit "Save" as well.
After saving your project, you should see some installation instructions to connect a Sentry client to your Bugsink instance.
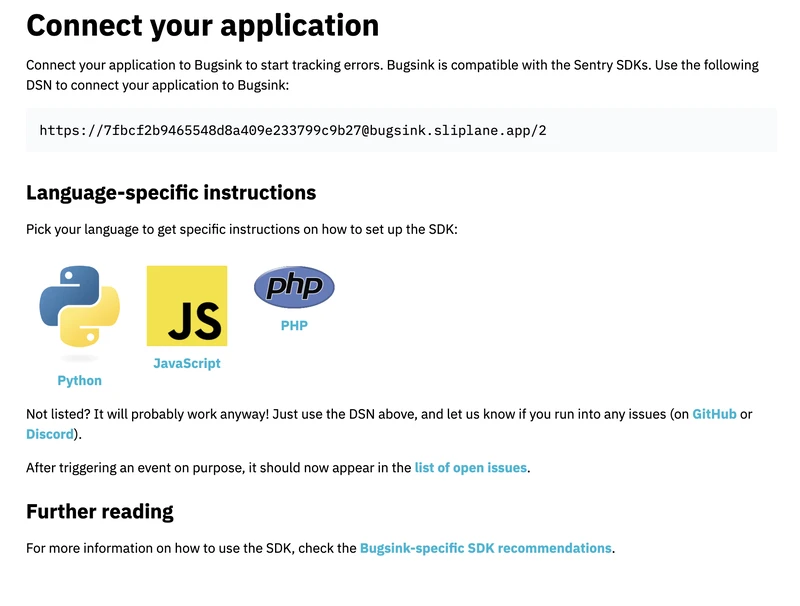
Note: If you see "localhost" in the DSN, you need to update the "BASE_URL" in the environment variables of your Bugsink app on Sliplane first.
You will also see a link to https://docs.sentry.io/platforms/ where you can find instructions on how to add Sentry to the application that you want to instrument. Sentry has an SDK for almost all major frameworks, so choose the framework that you use in your application and make sure to follow their installation guide step by step.
No matter what SDK you are choosing, you want to configure:
- The DSN that is displayed on the Bugsink installation instruction page
- Configuration for uploading source maps which contains:
org: [your bugsink team name],
project: [your bugsink project name],
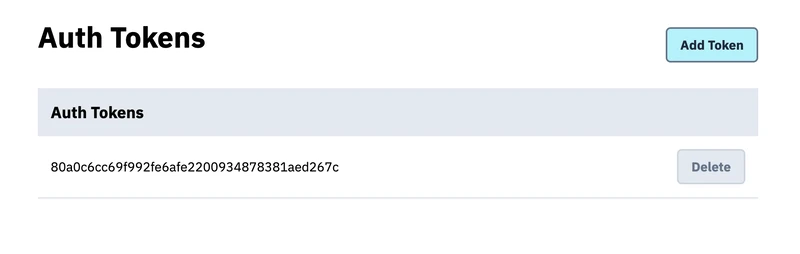
authToken: [auth token from bugsink],
url: [the public endpoint of your Bugink instance on Sliplane, including https],
You can generate authTokens in Bugsink by click on "Tokens" in the navbar on top.
It also makes sense to add a release version to the sentry config, but you can find out more about what's possible in their official documentation.
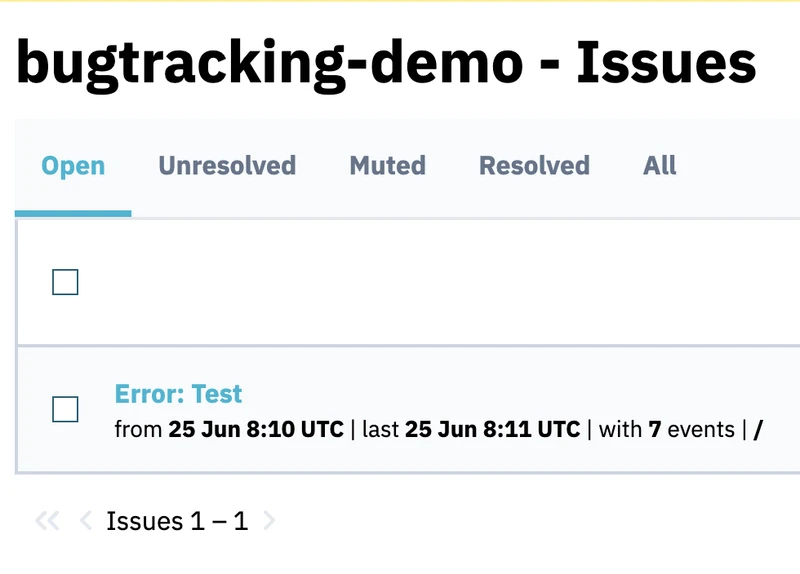
That's basically it! You can test your setup by throwing errors in your code like this for example in javascript:
throw new Error('Test')
The error should be collected in your Bugsink instance!
If you liked this little tutorial, feel free to like, comment and subscribe and I see you next time!
Lukas Mauser