NocoDB in 2026: A Free Airtable Alternative You Can Self-Host with Docker
 Lukas Mauser
NocoDB is one of the most useful open-source Airtable alternatives in 2026. It turns databases like PostgreSQL, MySQL, MariaDB, SQL Server, and SQLite into a collaborative spreadsheet UI with forms, kanban, gallery, calendar, map views, APIs, webhooks, and role-based access.
That matters because Airtable is no longer just a cute spreadsheet-database tool. It is a bigger app-building platform now, and the paid plans still charge per seat. As of June 2026, Airtable Team is $20/user/month billed annually and Business is $45/user/month billed annually. NocoDB Community, on the other hand, is self-hosted, free forever, and lists unlimited seats, records, and storage.
Quick Answer
NocoDB is one of the best free self-hosted Airtable alternatives if you want a spreadsheet interface on top of your own database.
Use Docker Compose if you want full control and do not mind managing updates, backups, and Postgres. Use Sliplane if you want NocoDB with HTTPS, persistent storage, logs, and managed hosting without maintaining a VPS.
DIY vs Sliplane
| Route | Cost | Setup time | Maintenance | Best for |
|---|---|---|---|---|
| Local Docker | €0 | Minutes | Low, but local only | Testing NocoDB before choosing a host |
| Raw VPS | €4-€15/month | 1-3 hours | High | Developers who want full server control |
| Sliplane | From €9/month | Minutes | Low | Teams that want managed self-hosting |
| Airtable Team | $20/user/month billed annually | Minutes | Low | Teams that prefer SaaS over data ownership |
Looking for something simpler? If you do not want to touch Docker Compose, use our self-hosting NocoDB the easy way guide and deploy it on Sliplane in a few clicks.
Video guide
NocoDB vs Airtable in 2026
Here is the practical difference for most teams:
| Tool | Best For | Pricing Snapshot | Self-Hostable | Main Tradeoff |
|---|---|---|---|---|
| Airtable | Polished SaaS app builder and database workflows | Free plan; Team $20/user/month; Business $45/user/month | No | Easy, polished, but per-seat SaaS pricing and less data control |
| NocoDB Cloud | Hosted NocoDB without running infrastructure | Free up to 3 users; Plus from $12/seat/month or $108/month for unlimited seats; Business from $24/editor/month | No | Convenient, but Cloud limits records, storage, APIs, and external database connections by plan |
| NocoDB self-hosted | Airtable-like UI on your own database | Free Community edition; server cost only | Yes | You manage updates, backups, and the server unless you use a platform like Sliplane |
If you mainly want a spreadsheet-style interface for structured data, NocoDB is a strong fit. If you need a full internal app builder with custom pages and workflows, also compare NocoBase and our list of open-source NocoBase alternatives.
Prerequisites
For local testing, you need:
- Docker Desktop or Docker Engine
- Basic terminal access
- Port
8080free on your machine
The image versions below were current on June 10, 2026:
nocodb/nocodb:2026.06.0postgres:18.4
Check NocoDB on Docker Hub and the Postgres Docker image before production deploys. Pinning versions is good; forgetting updates forever is not.
Local testing with SQLite
SQLite is the quickest way to try NocoDB locally. Run this from an empty folder:
mkdir -p nocodb

docker run -d --name nocodb \
  -v "$(pwd)"/nocodb:/usr/app/data \
  -p 8080:8080 \
  nocodb/nocodb:2026.06.0
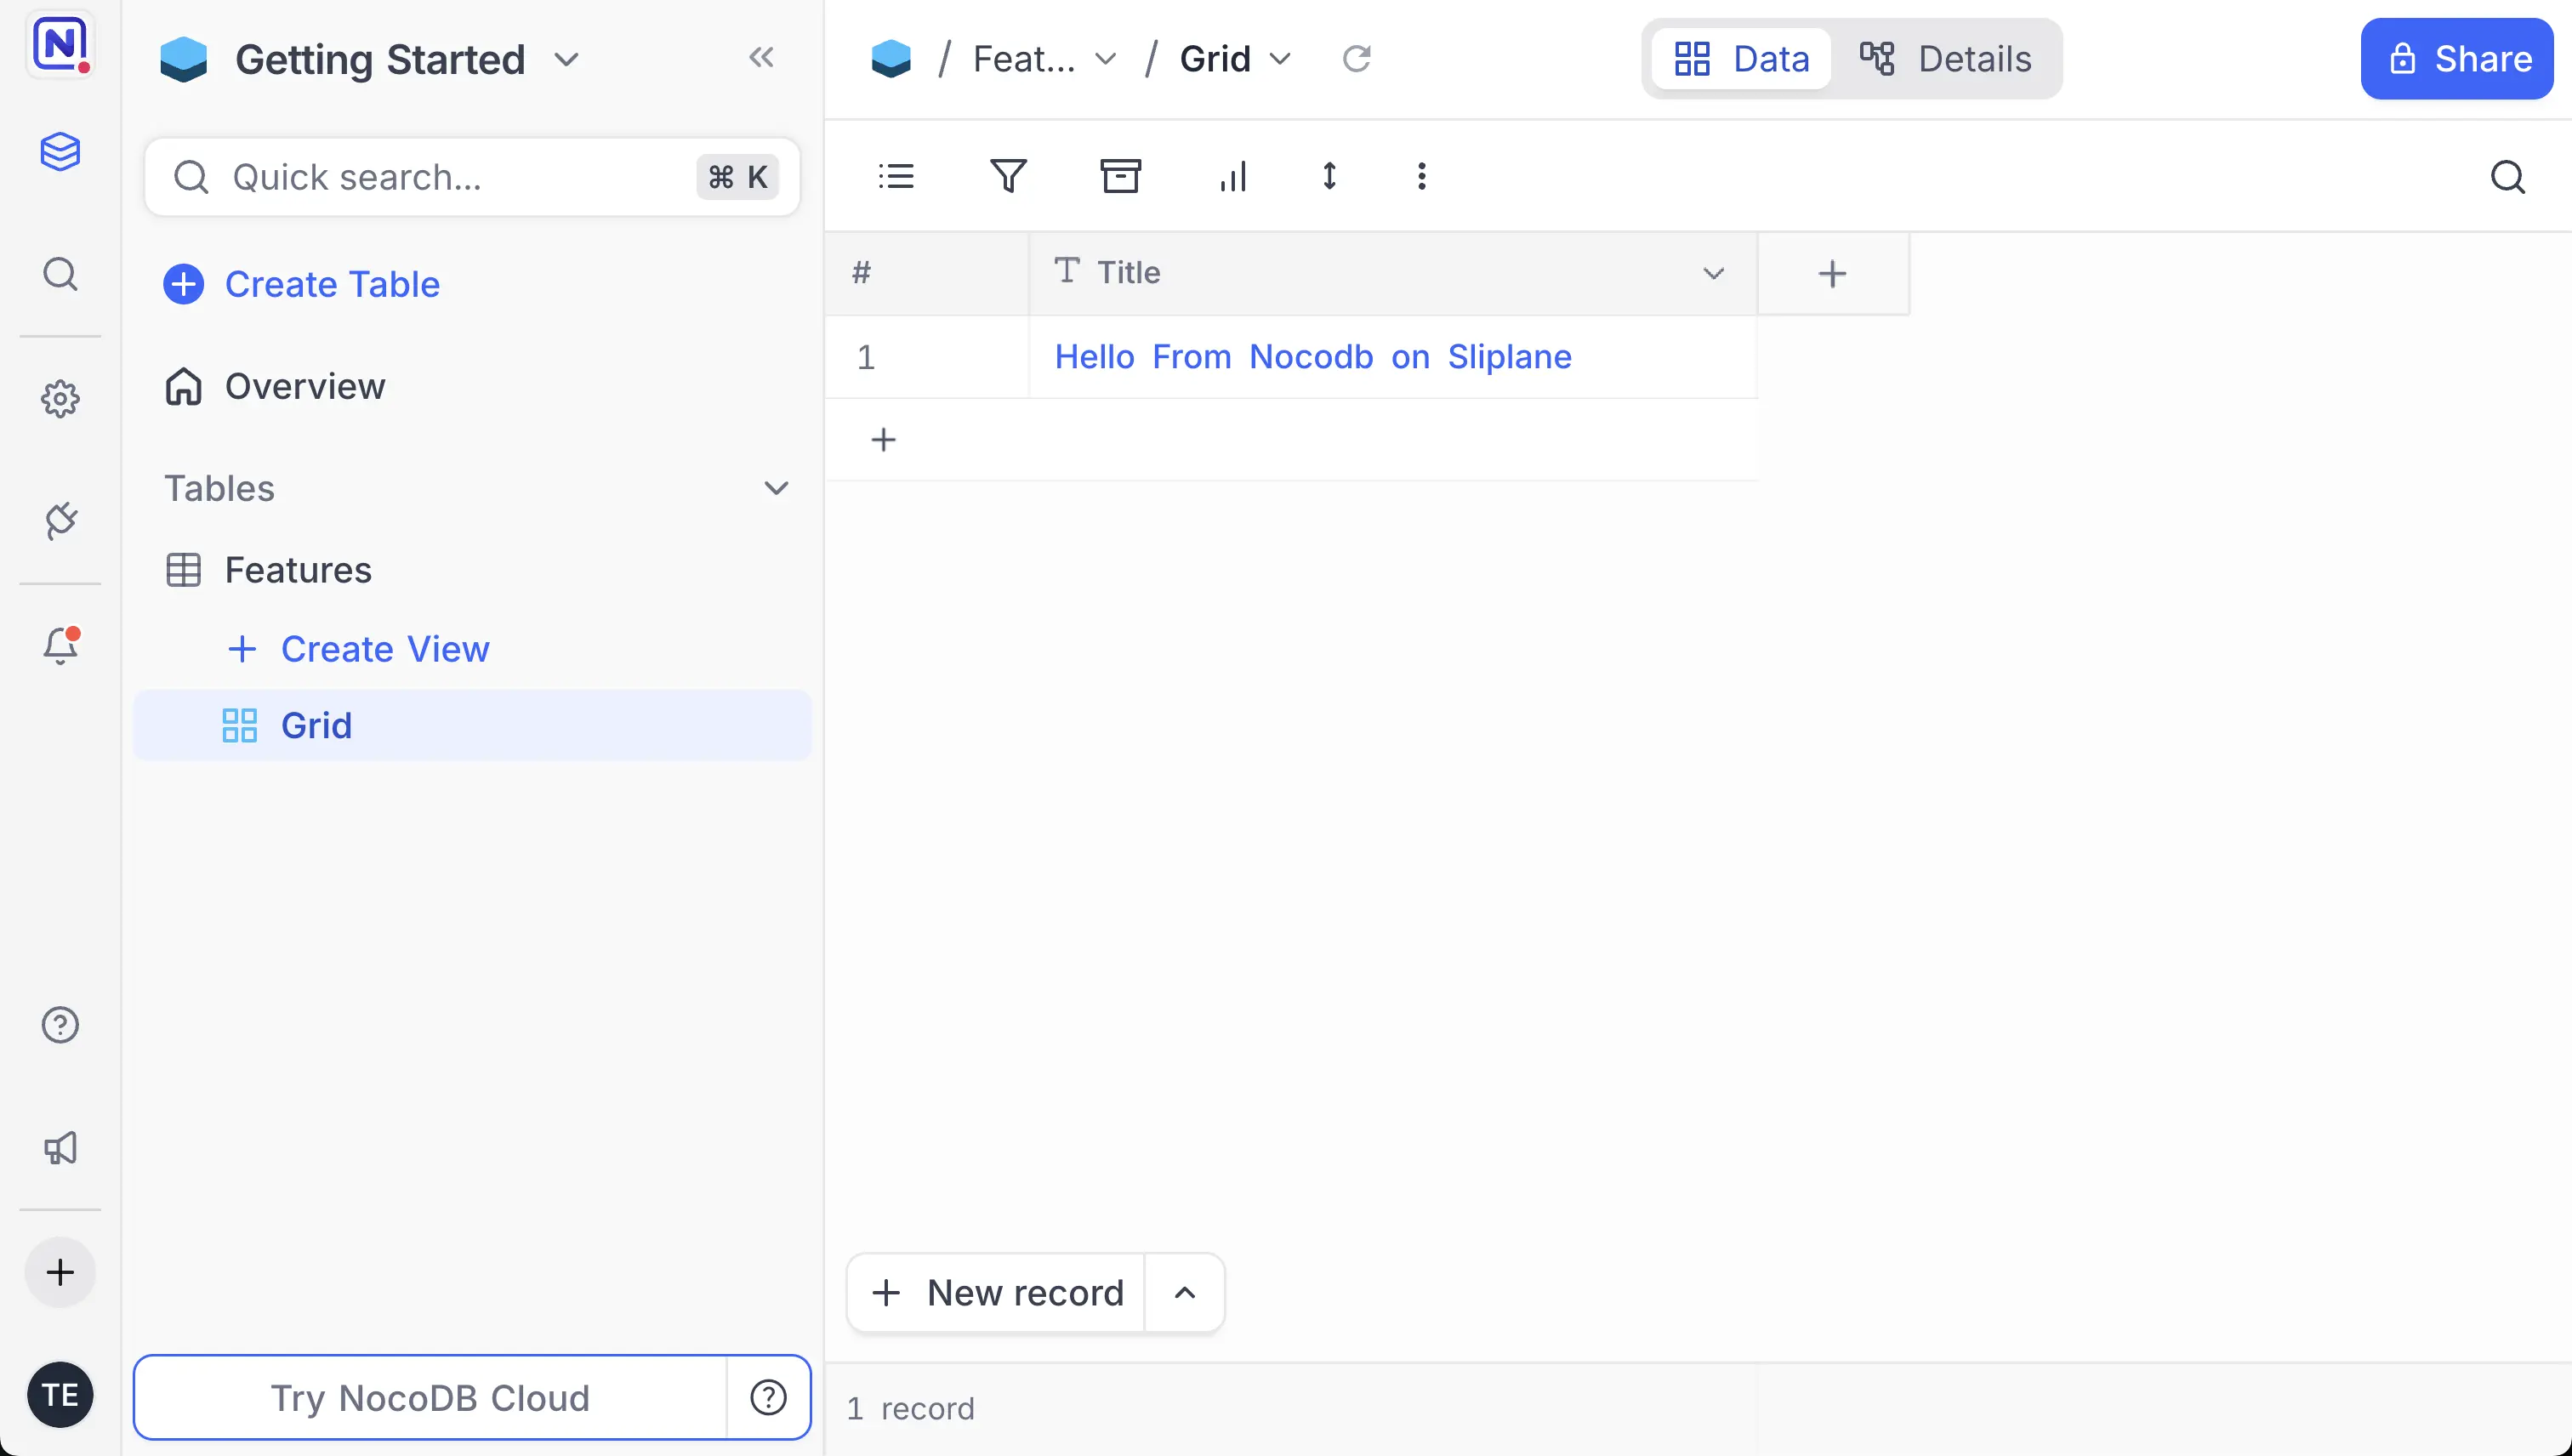
This starts NocoDB, stores its local data in ./nocodb, and exposes the app at http://localhost:8080.
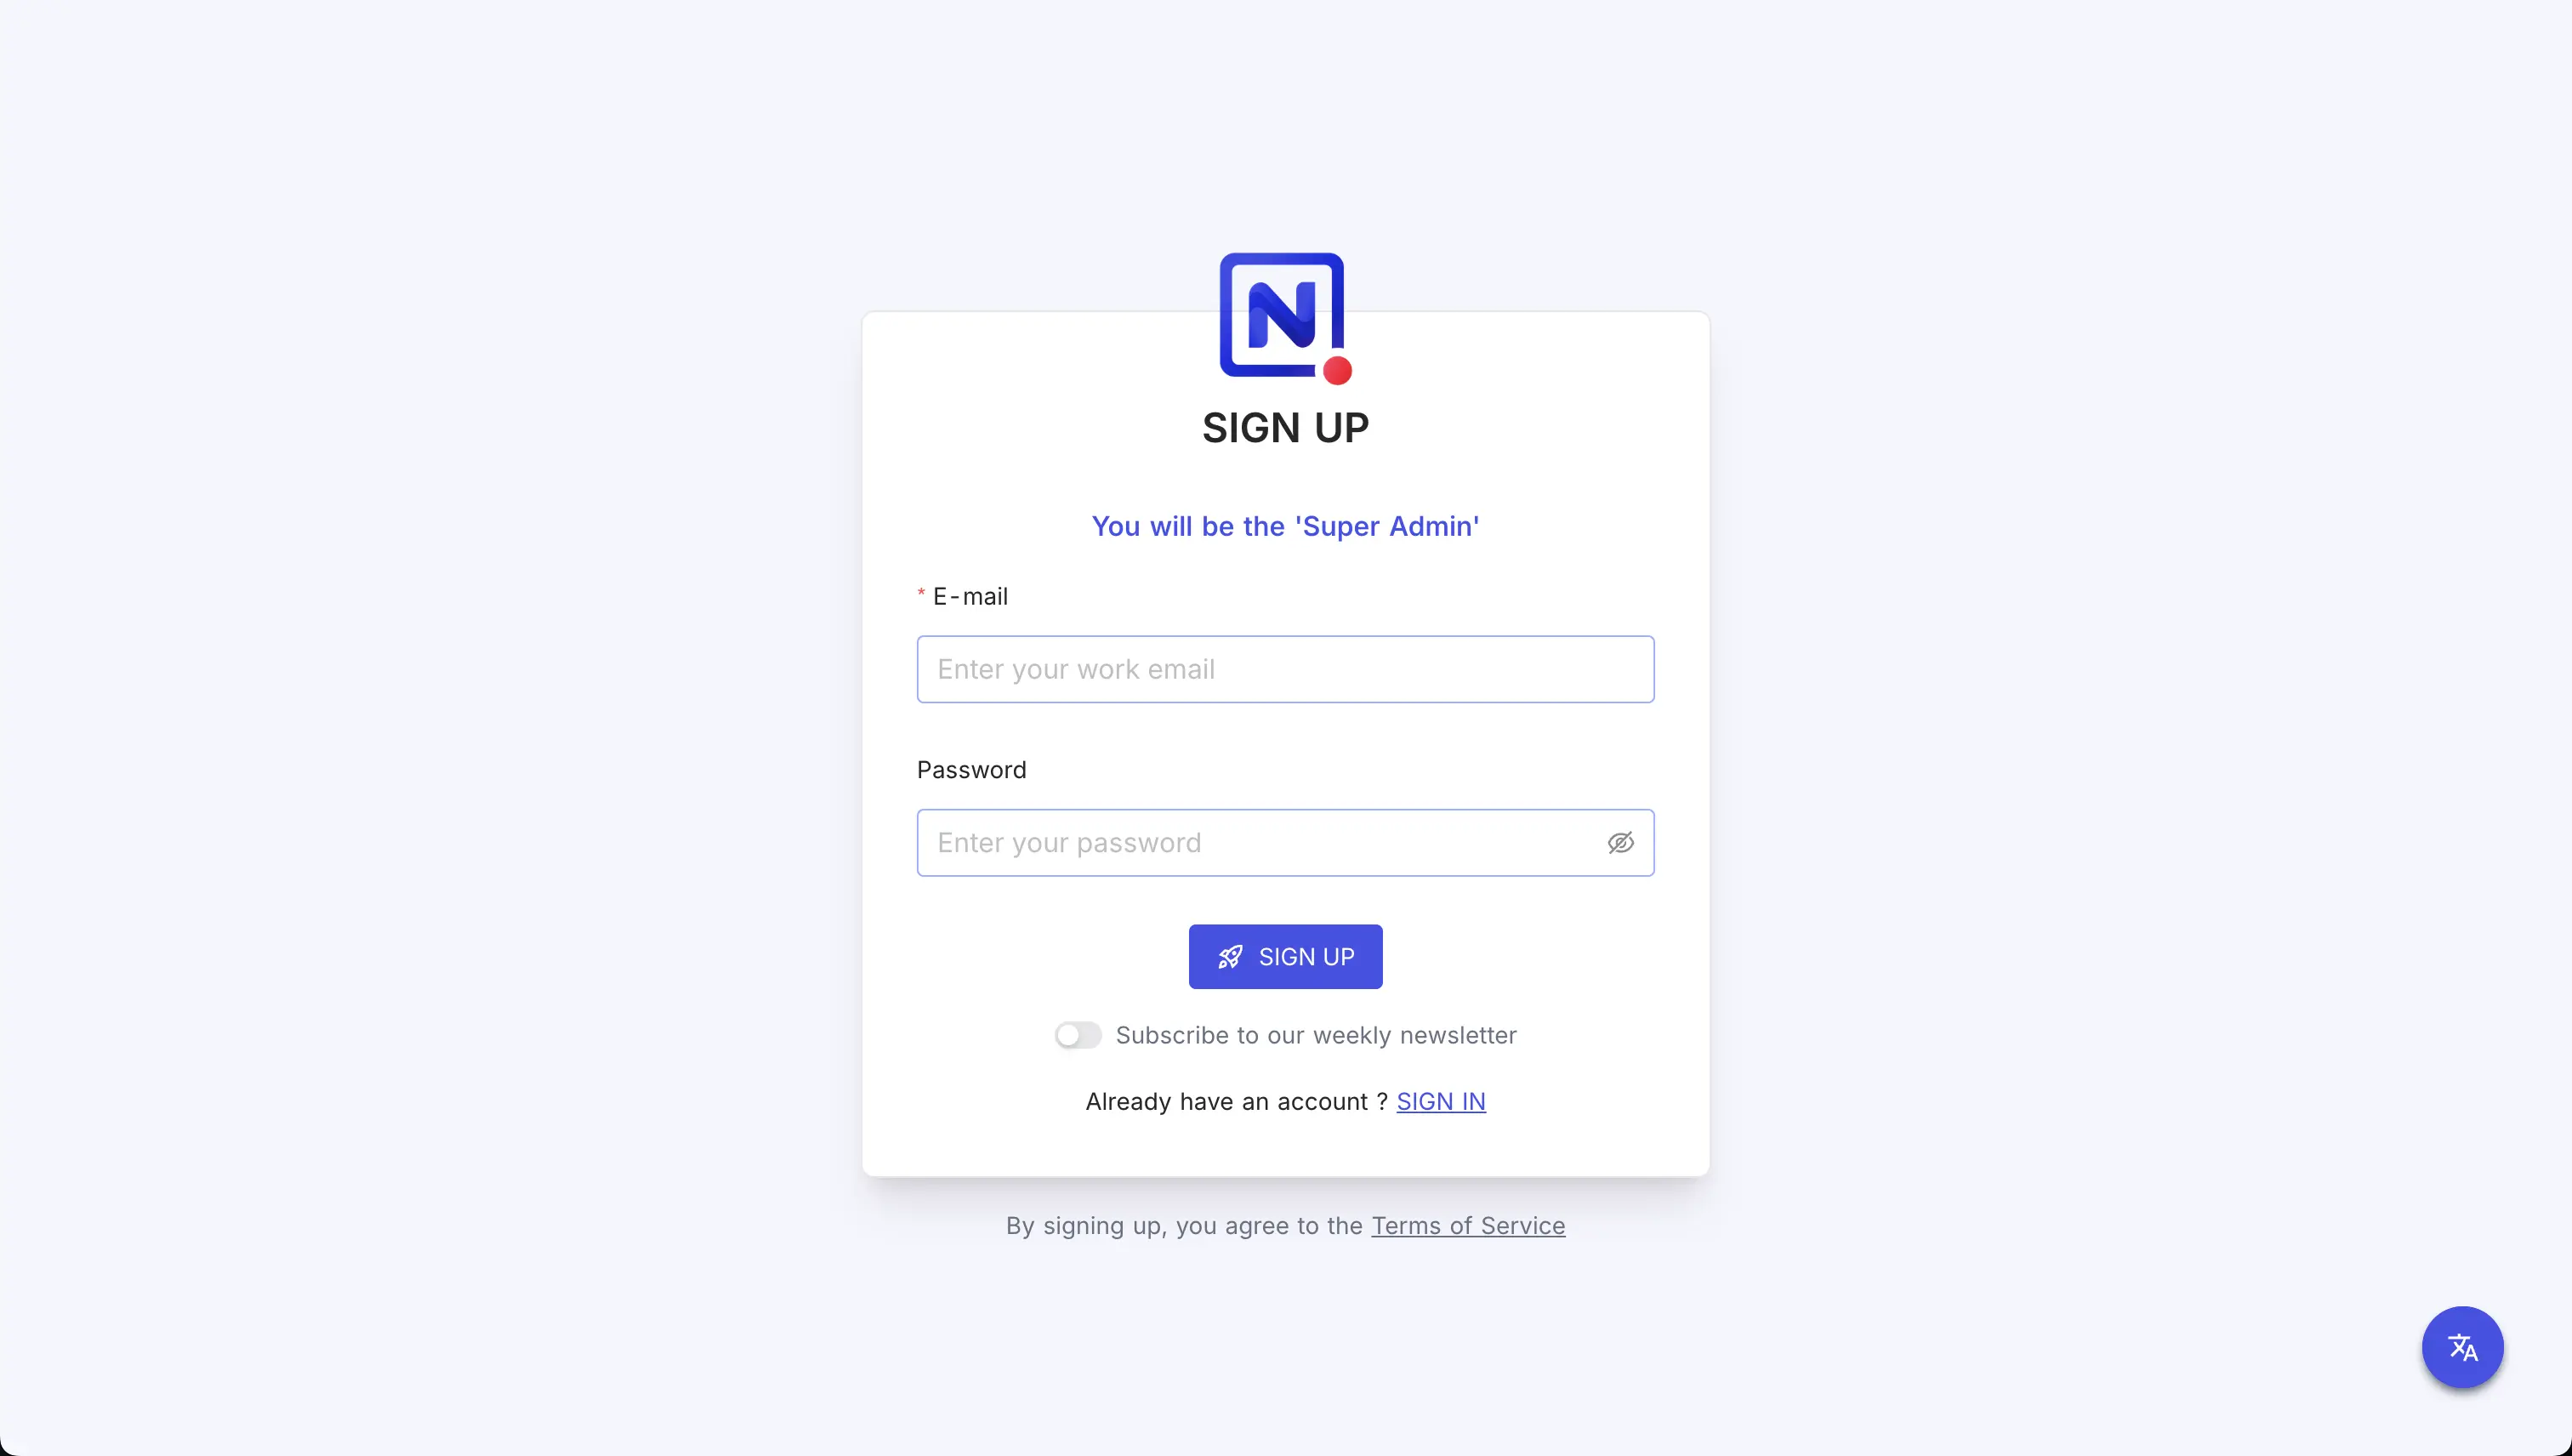
Open http://localhost:8080 in your browser and create the first admin user.
SQLite is fine for testing and tiny personal setups. For anything team-facing, use PostgreSQL.
Local testing with PostgreSQL
First create a Docker network so NocoDB and PostgreSQL can talk to each other:
docker network create nocodb-net
Now start PostgreSQL:
mkdir -p postgres

docker run -d --name nocodb-postgres \
  --network nocodb-net \
  -e POSTGRES_USER=nocodb \
  -e POSTGRES_PASSWORD=nocodb-local-password \
  -e POSTGRES_DB=nocodb \
  -v "$(pwd)"/postgres:/var/lib/postgresql \
  postgres:18.4
PostgreSQL 18 uses /var/lib/postgresql as the recommended mount target in the official Docker image. If you use PostgreSQL 17 or older, check the Docker Hub docs because the recommended data path is different.
Then start NocoDB and point it at PostgreSQL:
mkdir -p nocodb

docker run -d --name nocodb \
  --network nocodb-net \
  -v "$(pwd)"/nocodb:/usr/app/data \
  -p 8080:8080 \
  -e NC_DB="pg://nocodb-postgres:5432?u=nocodb&p=nocodb-local-password&d=nocodb" \
  -e NC_AUTH_JWT_SECRET="replace-this-with-a-long-random-secret" \
  nocodb/nocodb:2026.06.0
Open http://localhost:8080 and create your admin account.
Using Docker Compose
For a repeatable setup, create a file named compose.yml:
services:
  postgres:
    image: postgres:18.4
    container_name: nocodb-postgres
    environment:
      POSTGRES_USER: nocodb
      POSTGRES_PASSWORD: nocodb-local-password
      POSTGRES_DB: nocodb
    volumes:
      - postgres_data:/var/lib/postgresql
    networks:
      - nocodb-net
    restart: unless-stopped

  nocodb:
    image: nocodb/nocodb:2026.06.0
    container_name: nocodb
    depends_on:
      - postgres
    environment:
      NC_DB: "pg://postgres:5432?u=nocodb&p=nocodb-local-password&d=nocodb"
      NC_AUTH_JWT_SECRET: "replace-this-with-a-long-random-secret"
    ports:
      - "8080:8080"
    volumes:
      - nocodb_data:/usr/app/data
    networks:
      - nocodb-net
    restart: unless-stopped

volumes:
  postgres_data:
  nocodb_data:

networks:
  nocodb-net:
Start it:
docker compose up -d
Check that both containers are running:
docker compose ps
Then open http://localhost:8080.
Deploy NocoDB on Sliplane
If you want NocoDB in the cloud without managing a VPS, deploy it on Sliplane. You get HTTPS, persistent volumes, logs, restarts, and a public domain without configuring a reverse proxy.
Step 1: Create a project
Log in to Sliplane, create a project, and name it nocodb.
Step 2: Deploy PostgreSQL
Deploy a PostgreSQL service from the Sliplane presets. Keep it private unless you have a strong reason to expose it publicly. Copy the internal hostname, database name, user, and password from the service settings.
Step 3: Deploy NocoDB
Deploy from the registry and use:
docker.io/nocodb/nocodb:2026.06.0
Add a volume mounted at:
/usr/app/data
Add these environment variables, using the internal hostname and credentials from your PostgreSQL service:
NC_DB="pg://postgres-abc123.internal:5432?u=nocodb&p=nocodb-local-password&d=nocodb"
NC_AUTH_JWT_SECRET="replace-this-with-a-long-random-secret"
NC_PUBLIC_URL="https://nocodb-example.sliplane.app"
Step 4: Deploy and sign in
Click Deploy, wait for the service to become healthy, then open the sliplane.app domain and create your first admin user.
Maintenance tips
Back up both the NocoDB volume and the PostgreSQL database. The volume stores uploads and app data; PostgreSQL stores the metadata database.
For updates:
docker compose pull
docker compose up -d
Before changing image versions in production, read the NocoDB release notes, back up your data, and test the update on a copy if the instance is important.
For security, use a long NC_AUTH_JWT_SECRET, keep PostgreSQL private, enable SSO/MFA if your edition supports it, and avoid putting sensitive internal data into a public test instance.
FAQ
Is NocoDB really free?
Yes, NocoDB Community is self-hosted and free. You still pay for the server, storage, backups, and your time. NocoDB Cloud has separate hosted pricing and limits.
Is NocoDB a full Airtable replacement?
For many database workflows, yes. It covers tables, views, forms, APIs, webhooks, roles, and collaboration. Airtable is more polished as a SaaS app-building platform, while NocoDB gives you more control and self-hosting.
Should I use SQLite or PostgreSQL?
Use SQLite for quick testing. Use PostgreSQL for shared team setups, production data, better backups, and safer scaling.
Is NocoDB the same as NocoBase?
No. NocoDB is an Airtable-like spreadsheet UI for databases. NocoBase is a no-code/low-code app builder with a plugin architecture. If you are deciding between them, read our NocoBase self-hosting guide.
Can I connect automations to NocoDB?
Yes. NocoDB has APIs and webhooks. If you want self-hosted automation next to it, look at n8n, Activepieces, or our Zapier alternatives.
Summary
NocoDB is a strong Airtable alternative in 2026 if you want a spreadsheet-style UI, APIs, and collaboration without per-seat SaaS pricing. Run it locally with Docker to test it, use PostgreSQL for production, and deploy it on Sliplane if you want the self-hosting benefits without managing the server yourself.